CNC Pattern Making and Sodium Silicate Sand Casting Bronze
Sand Casting
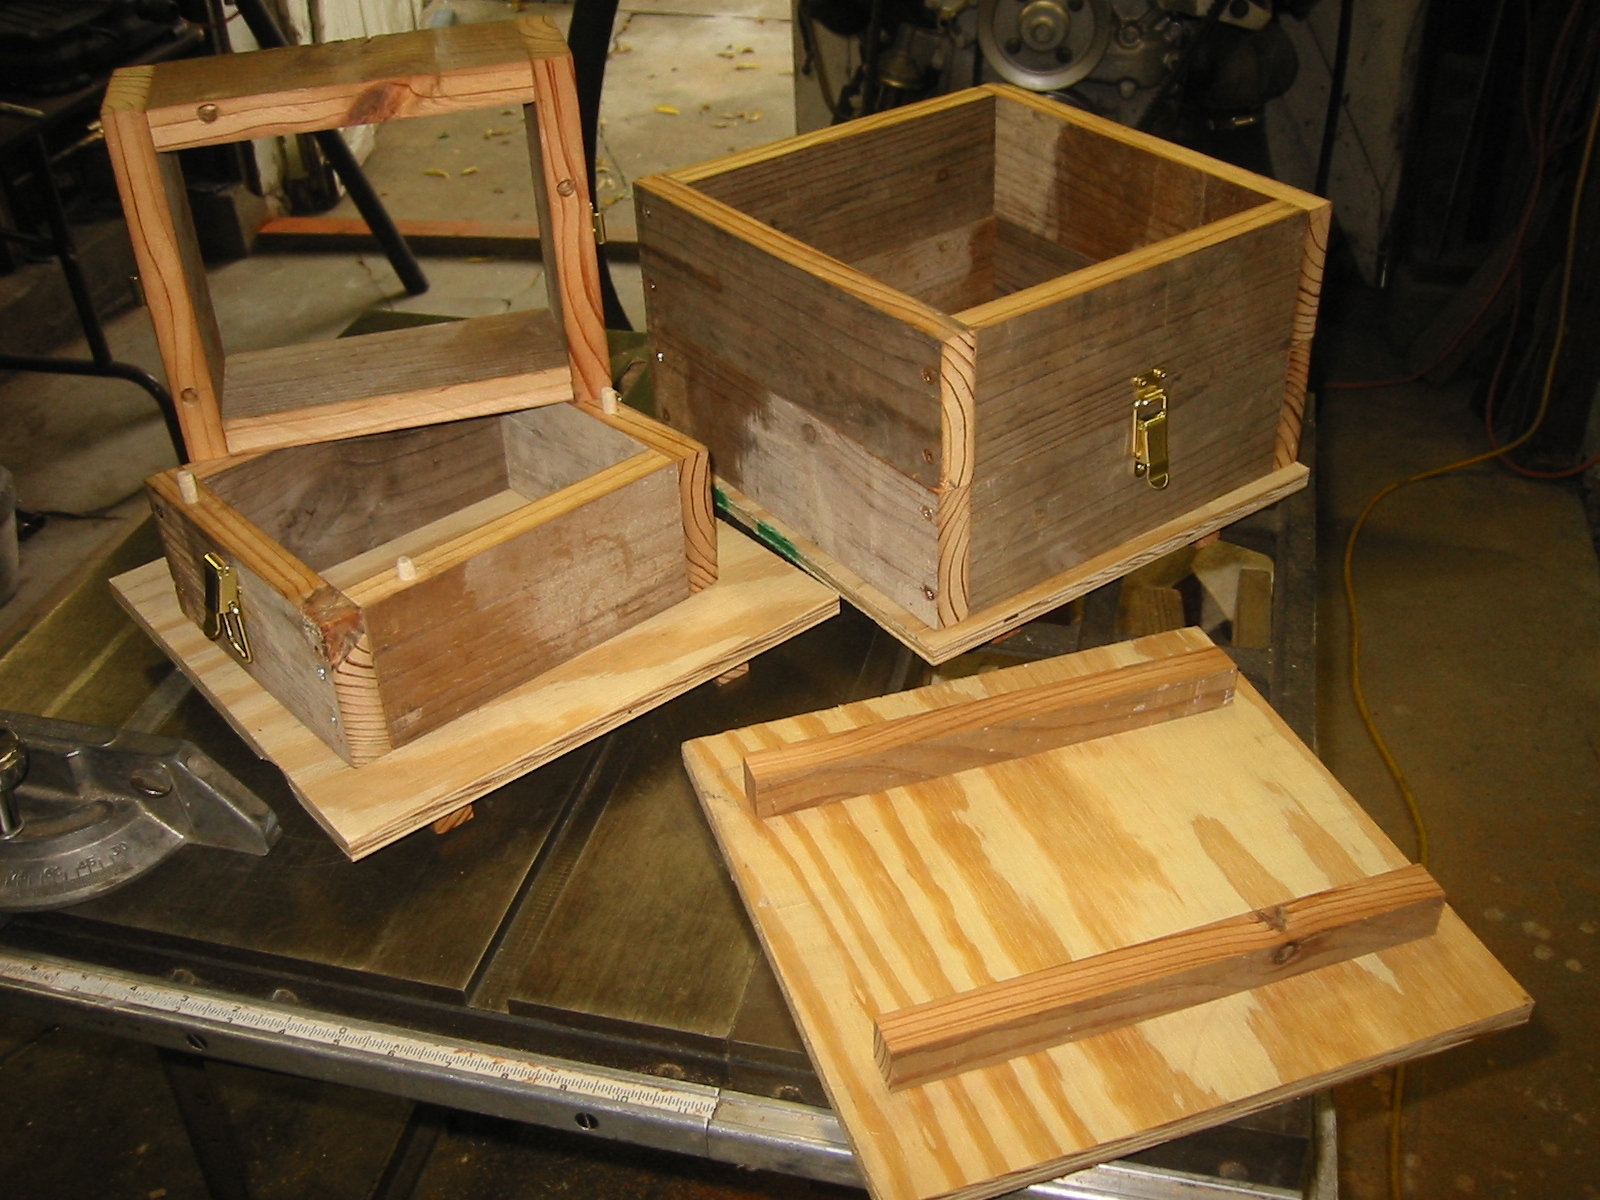
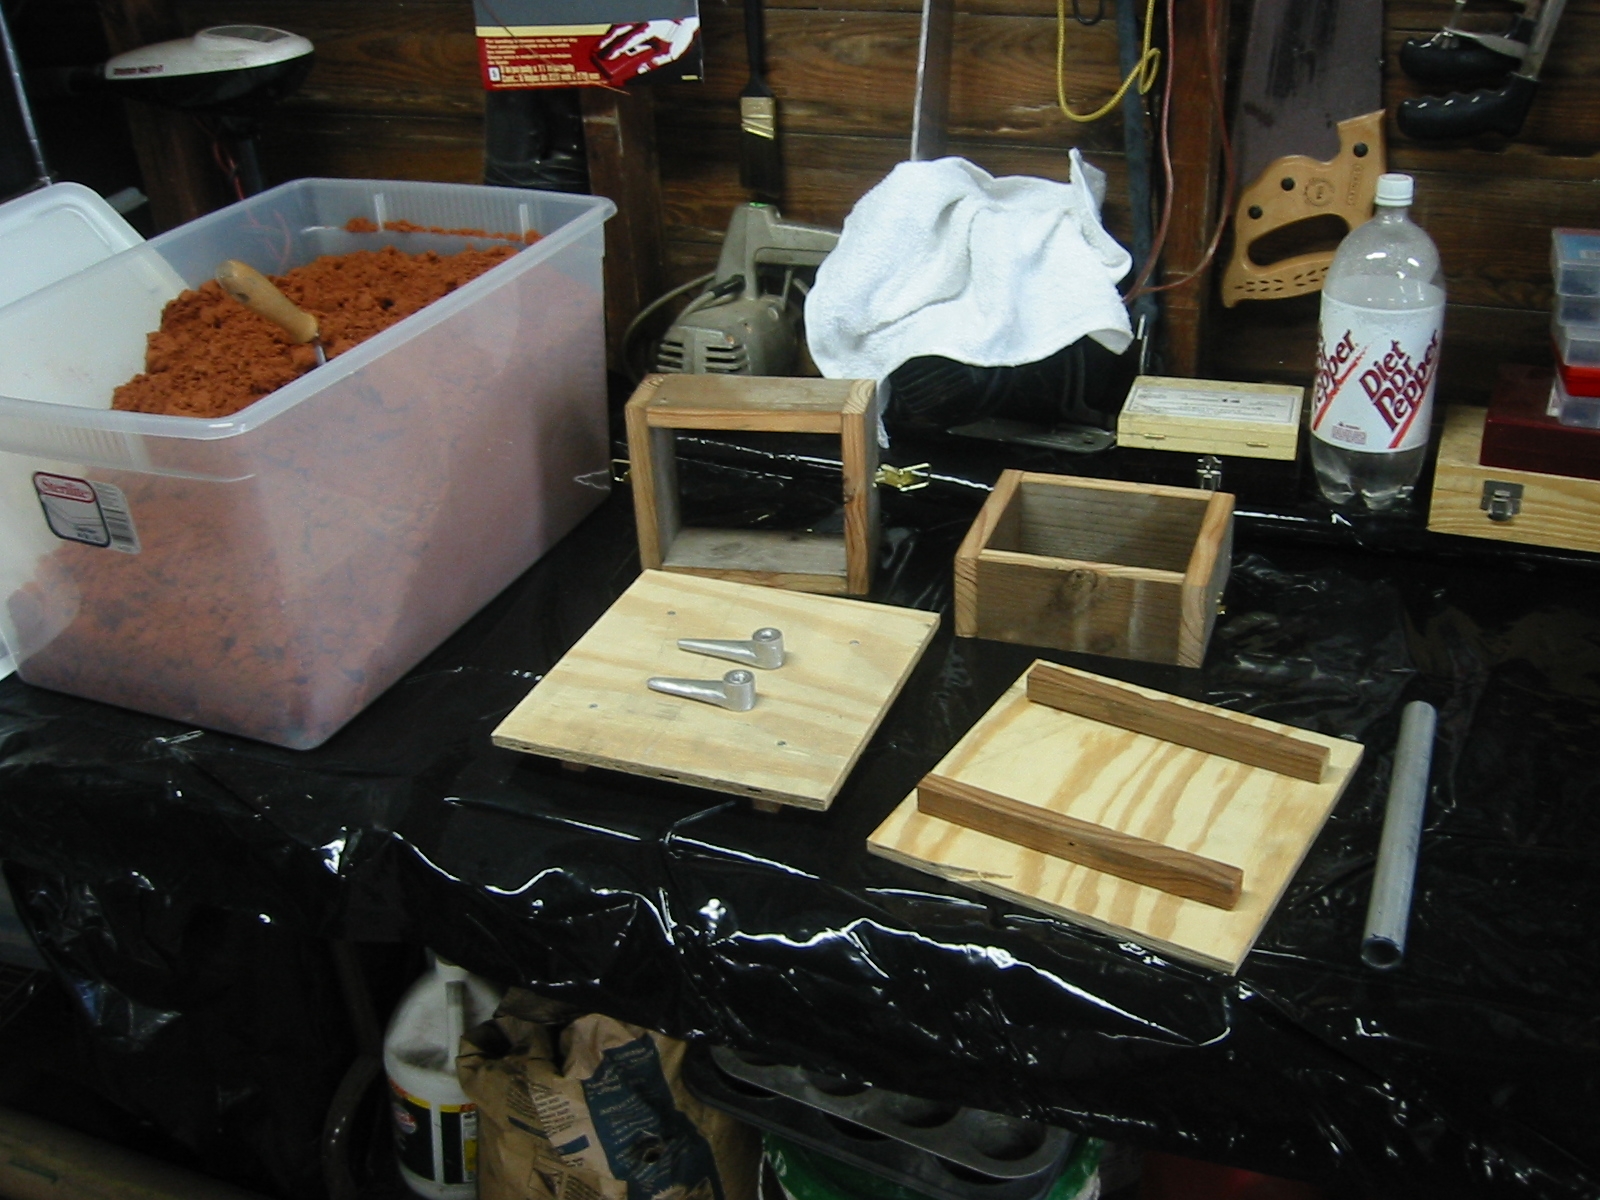
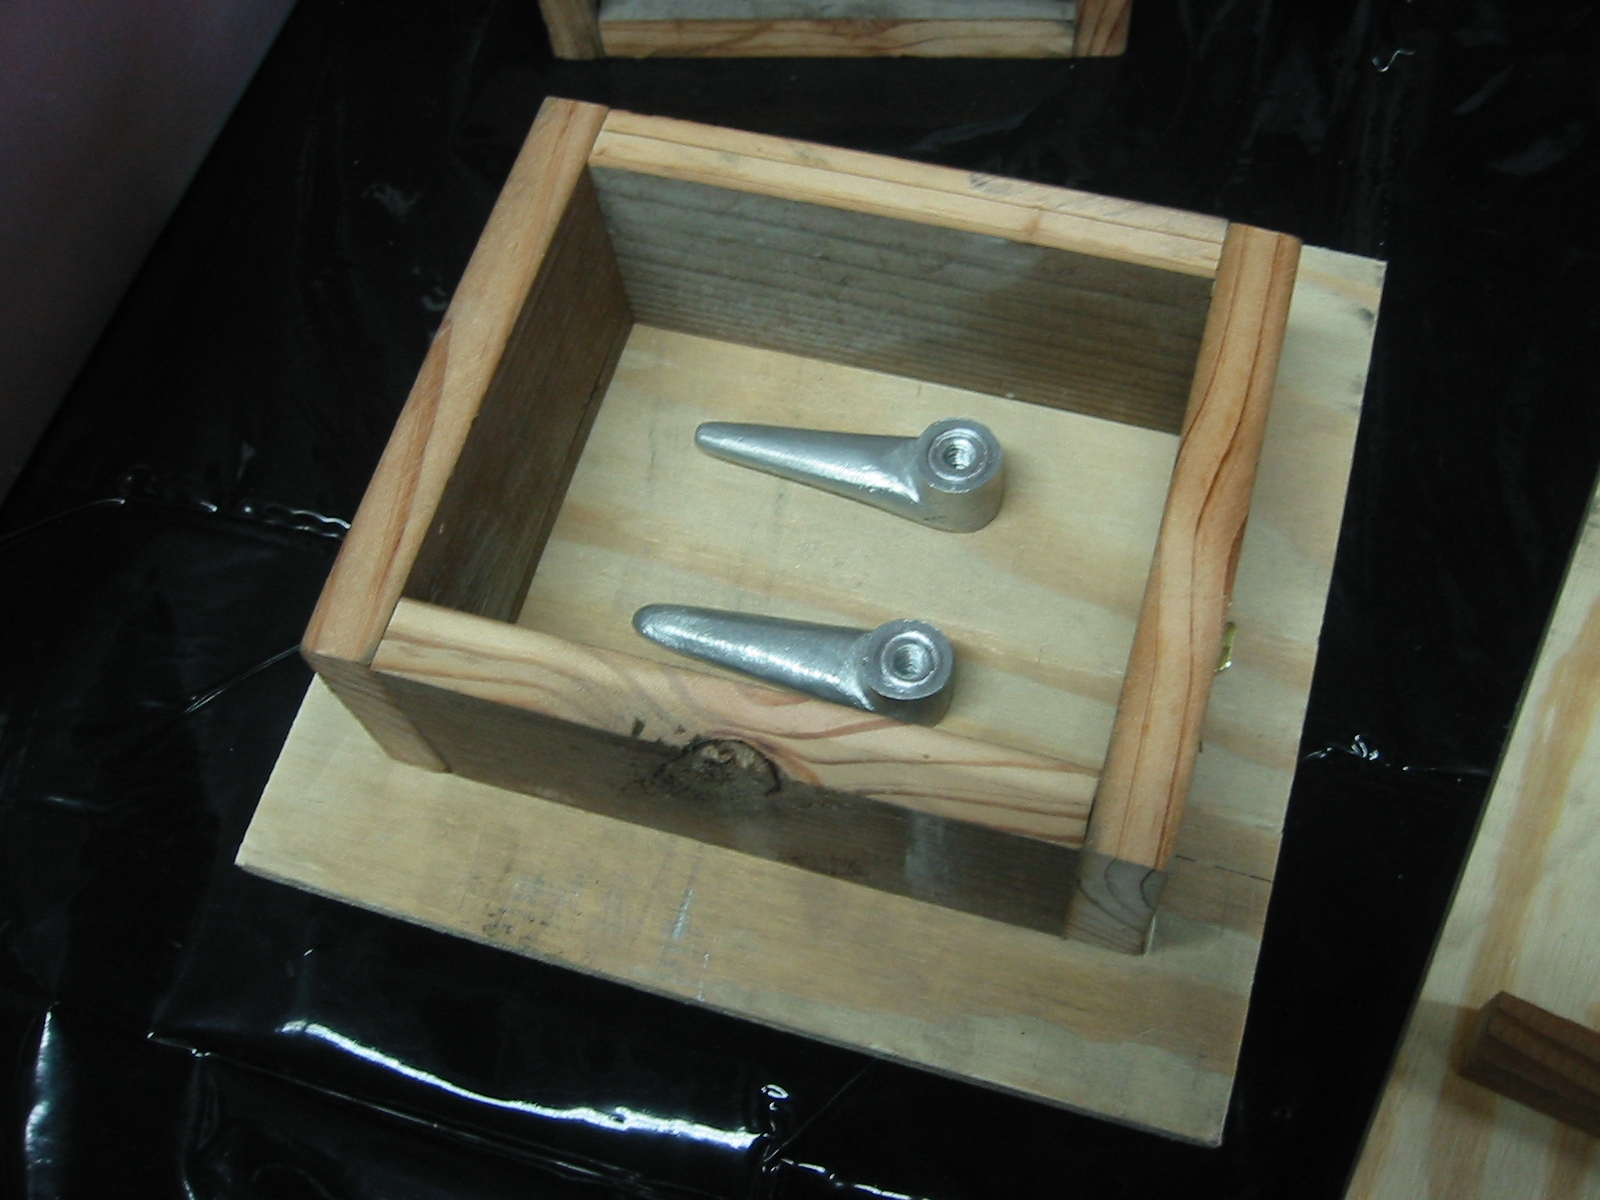
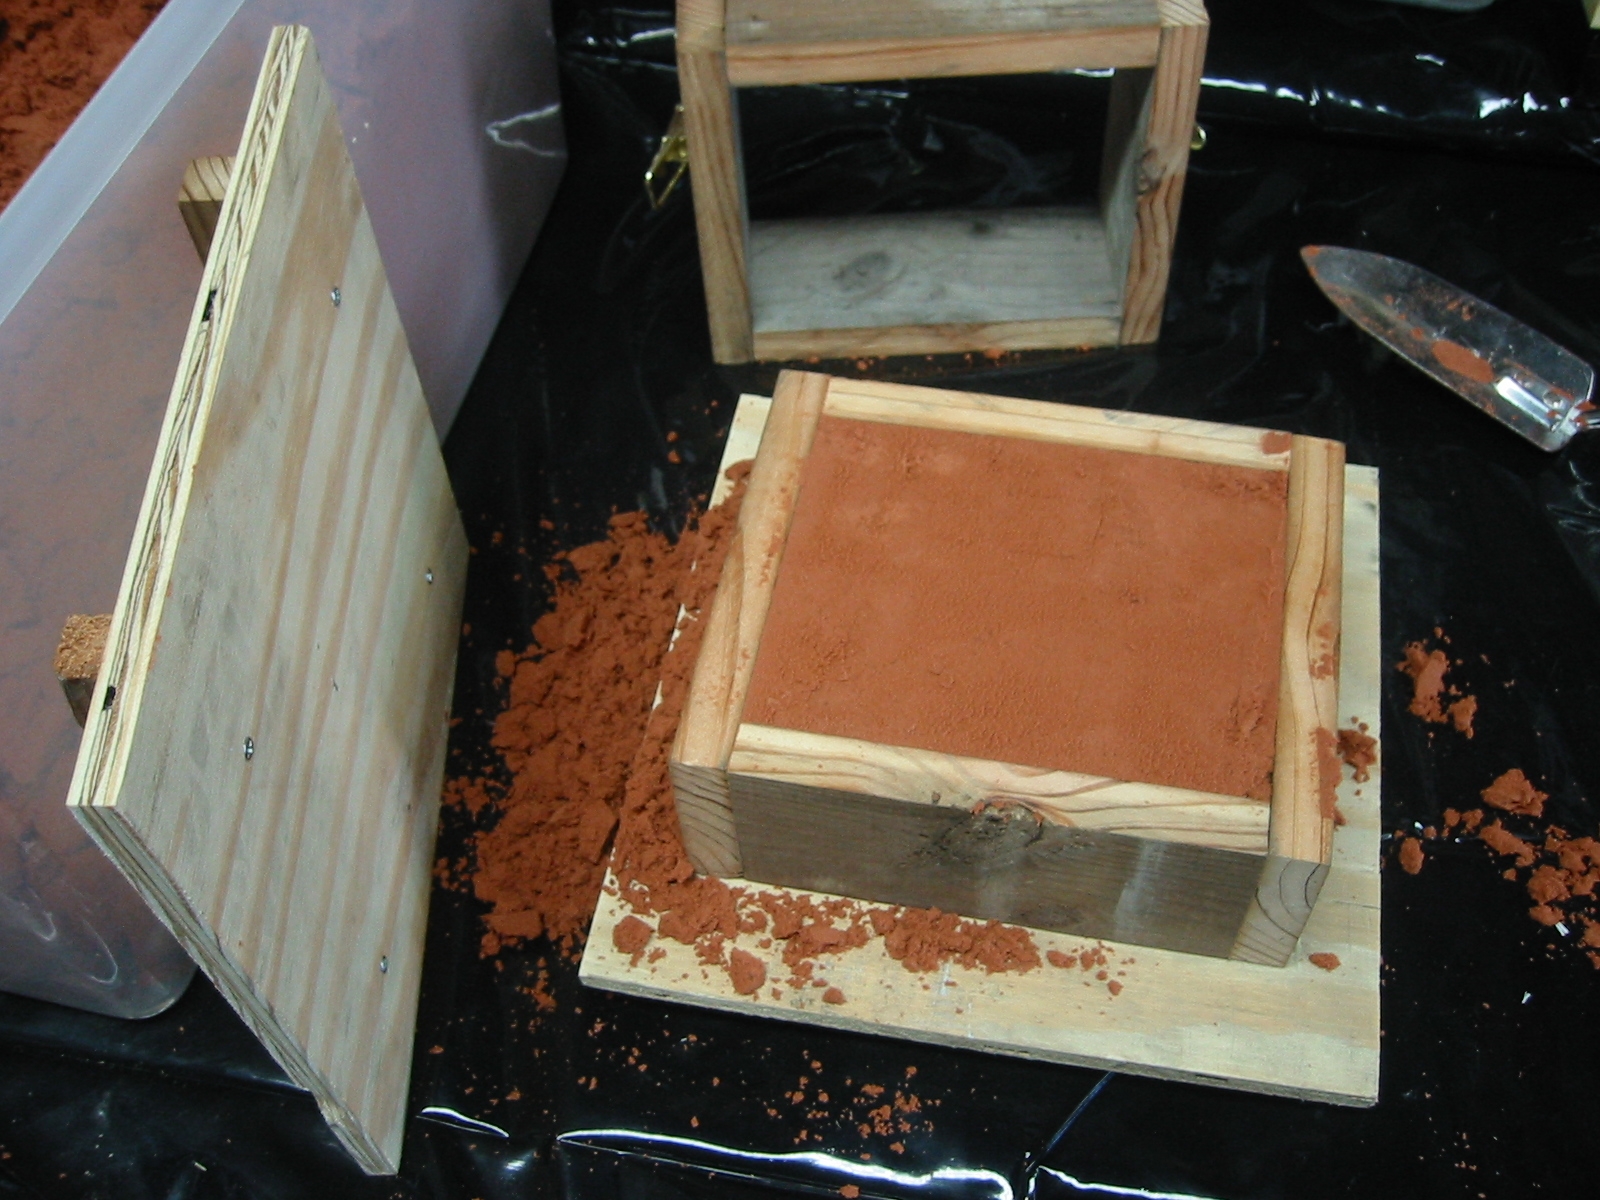
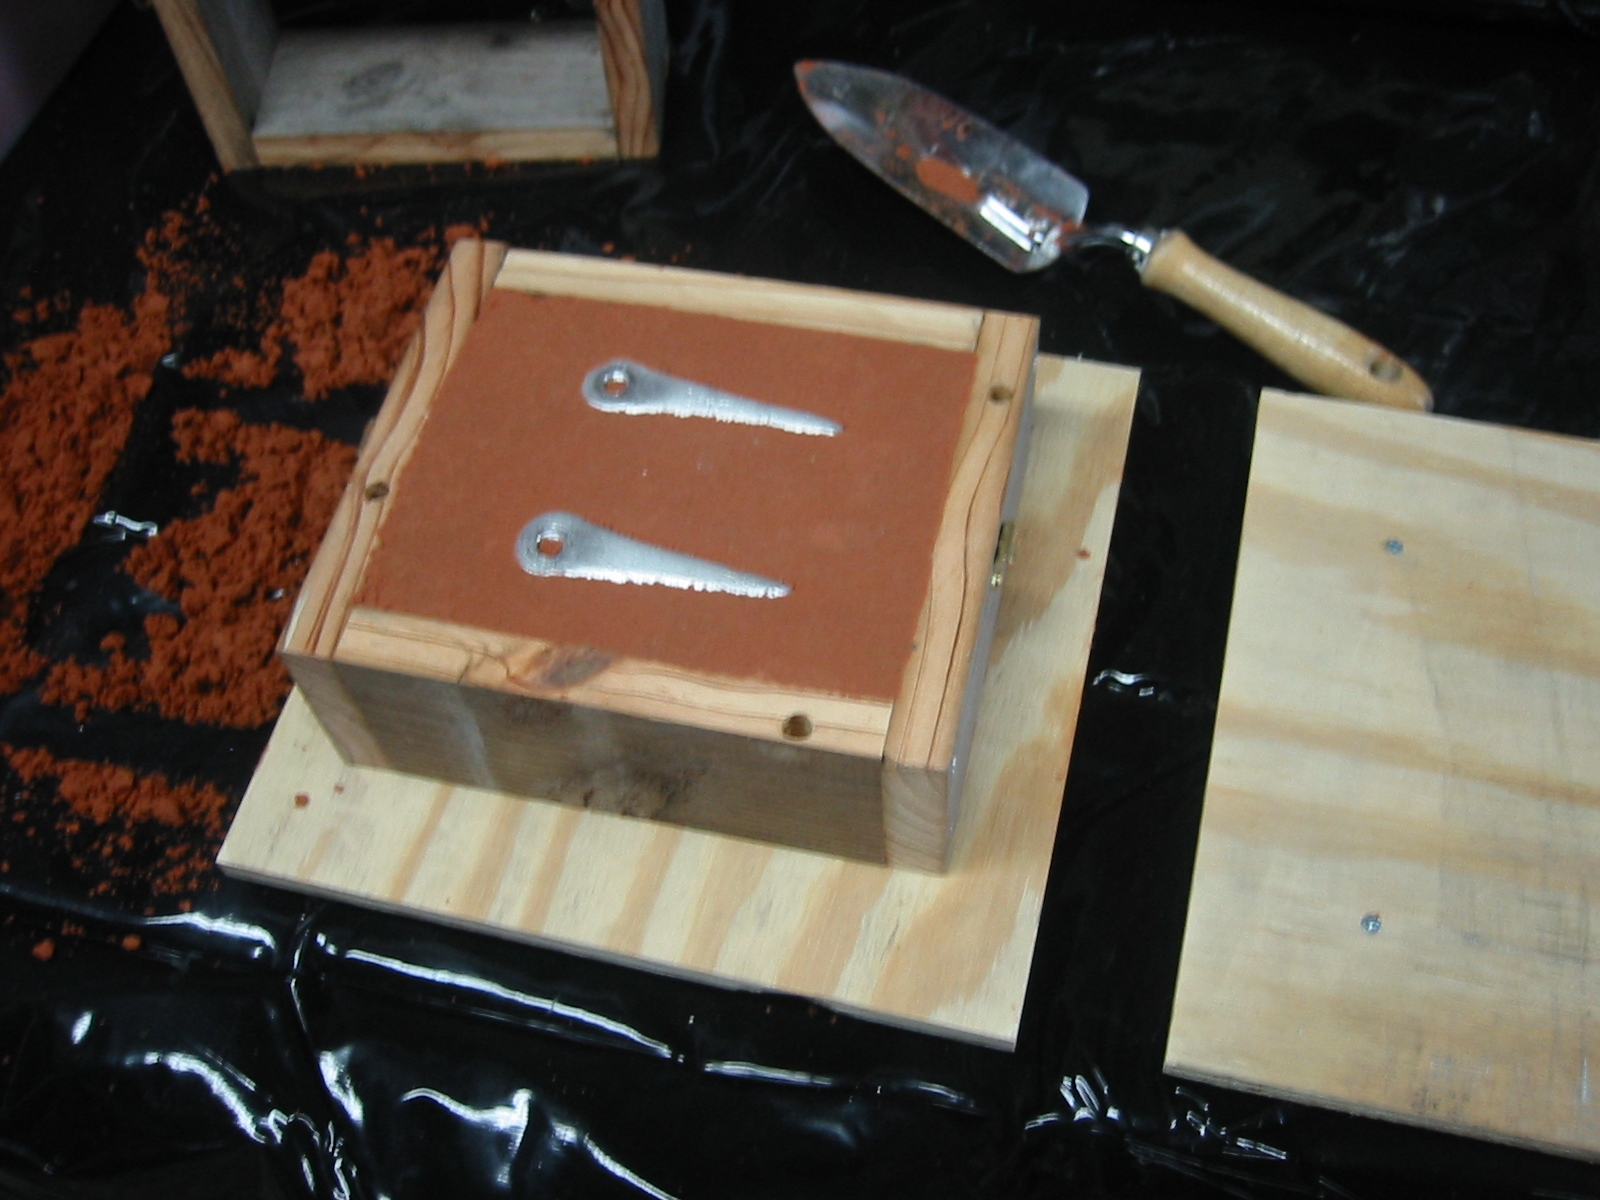
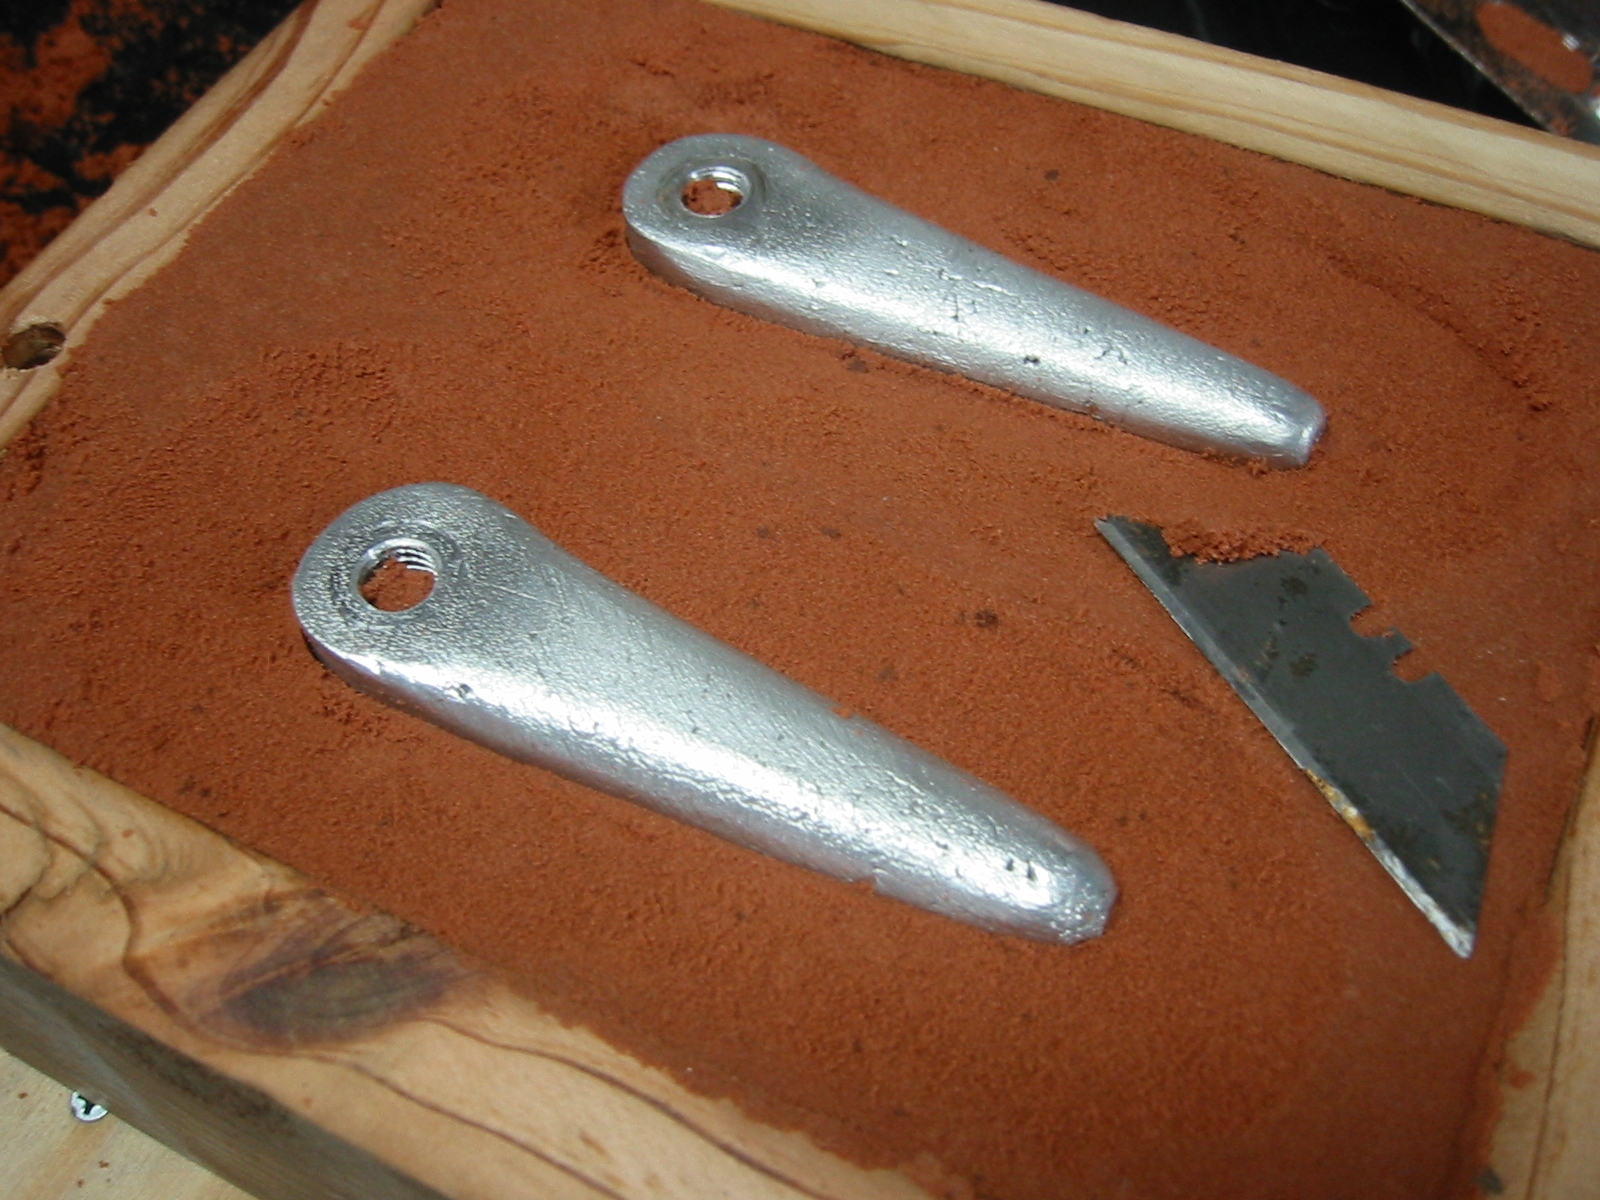
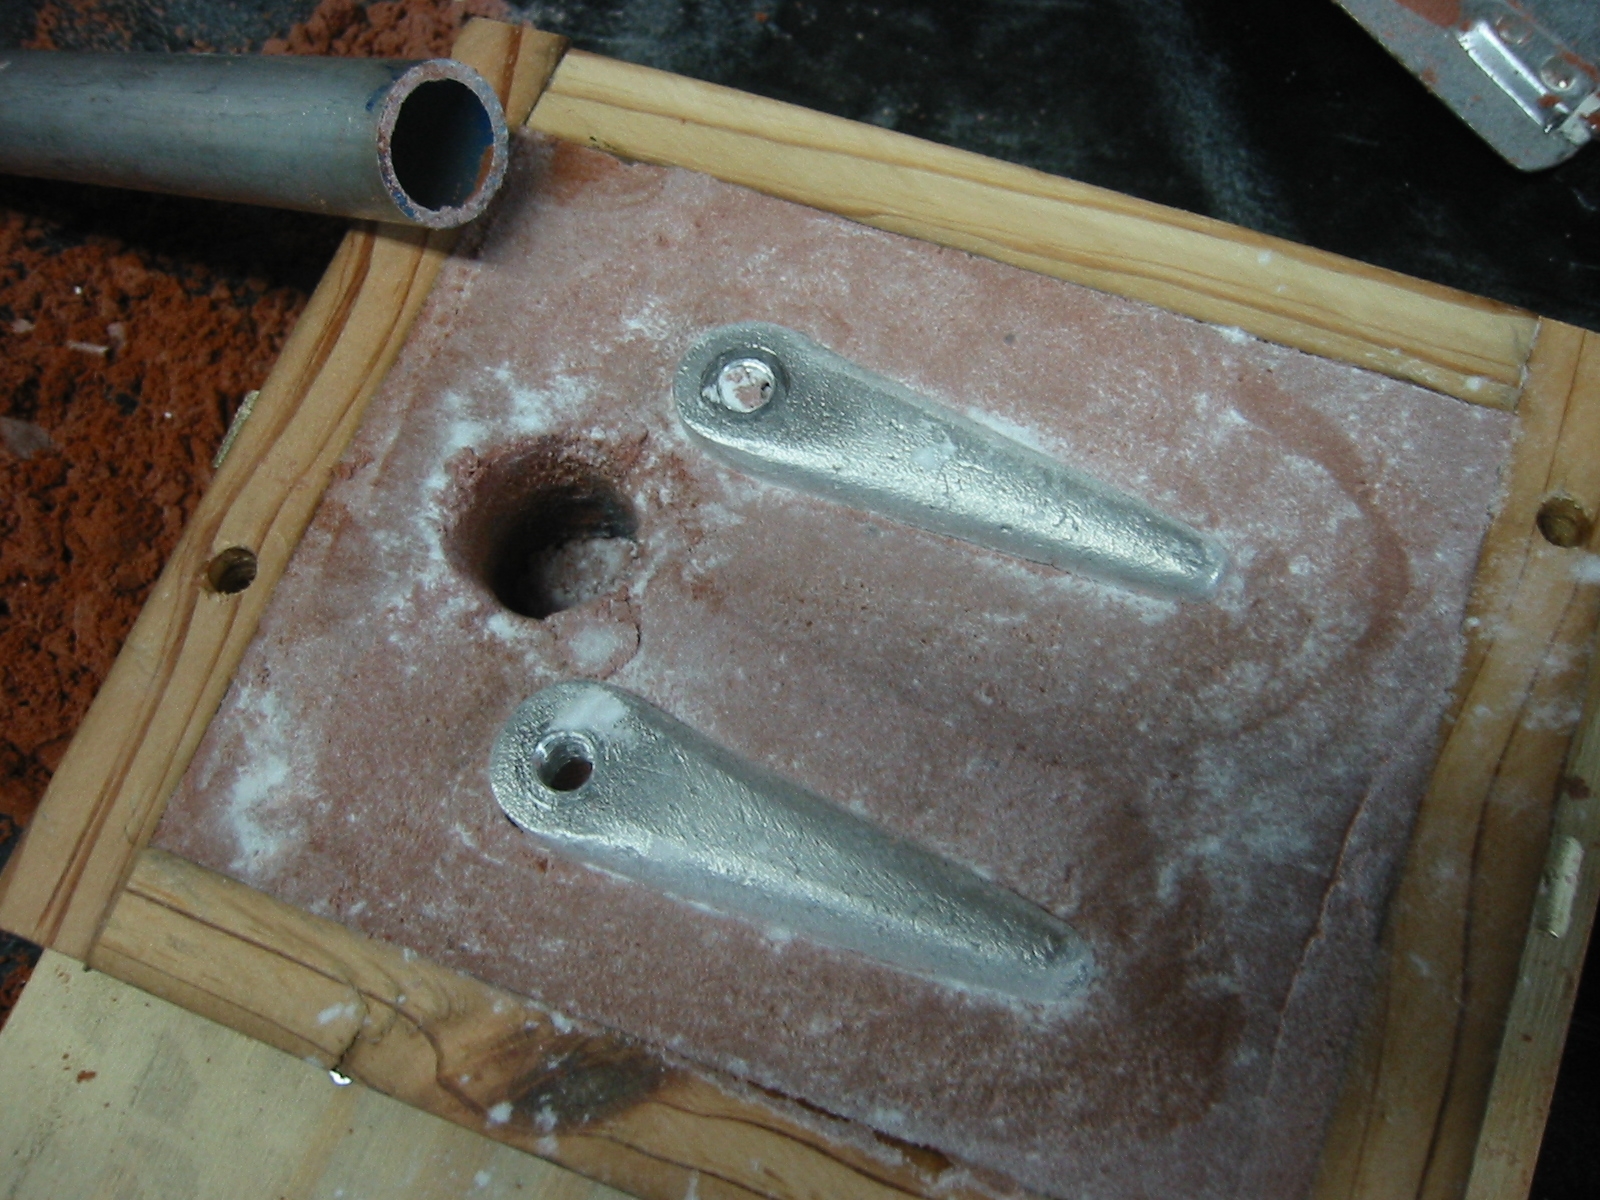
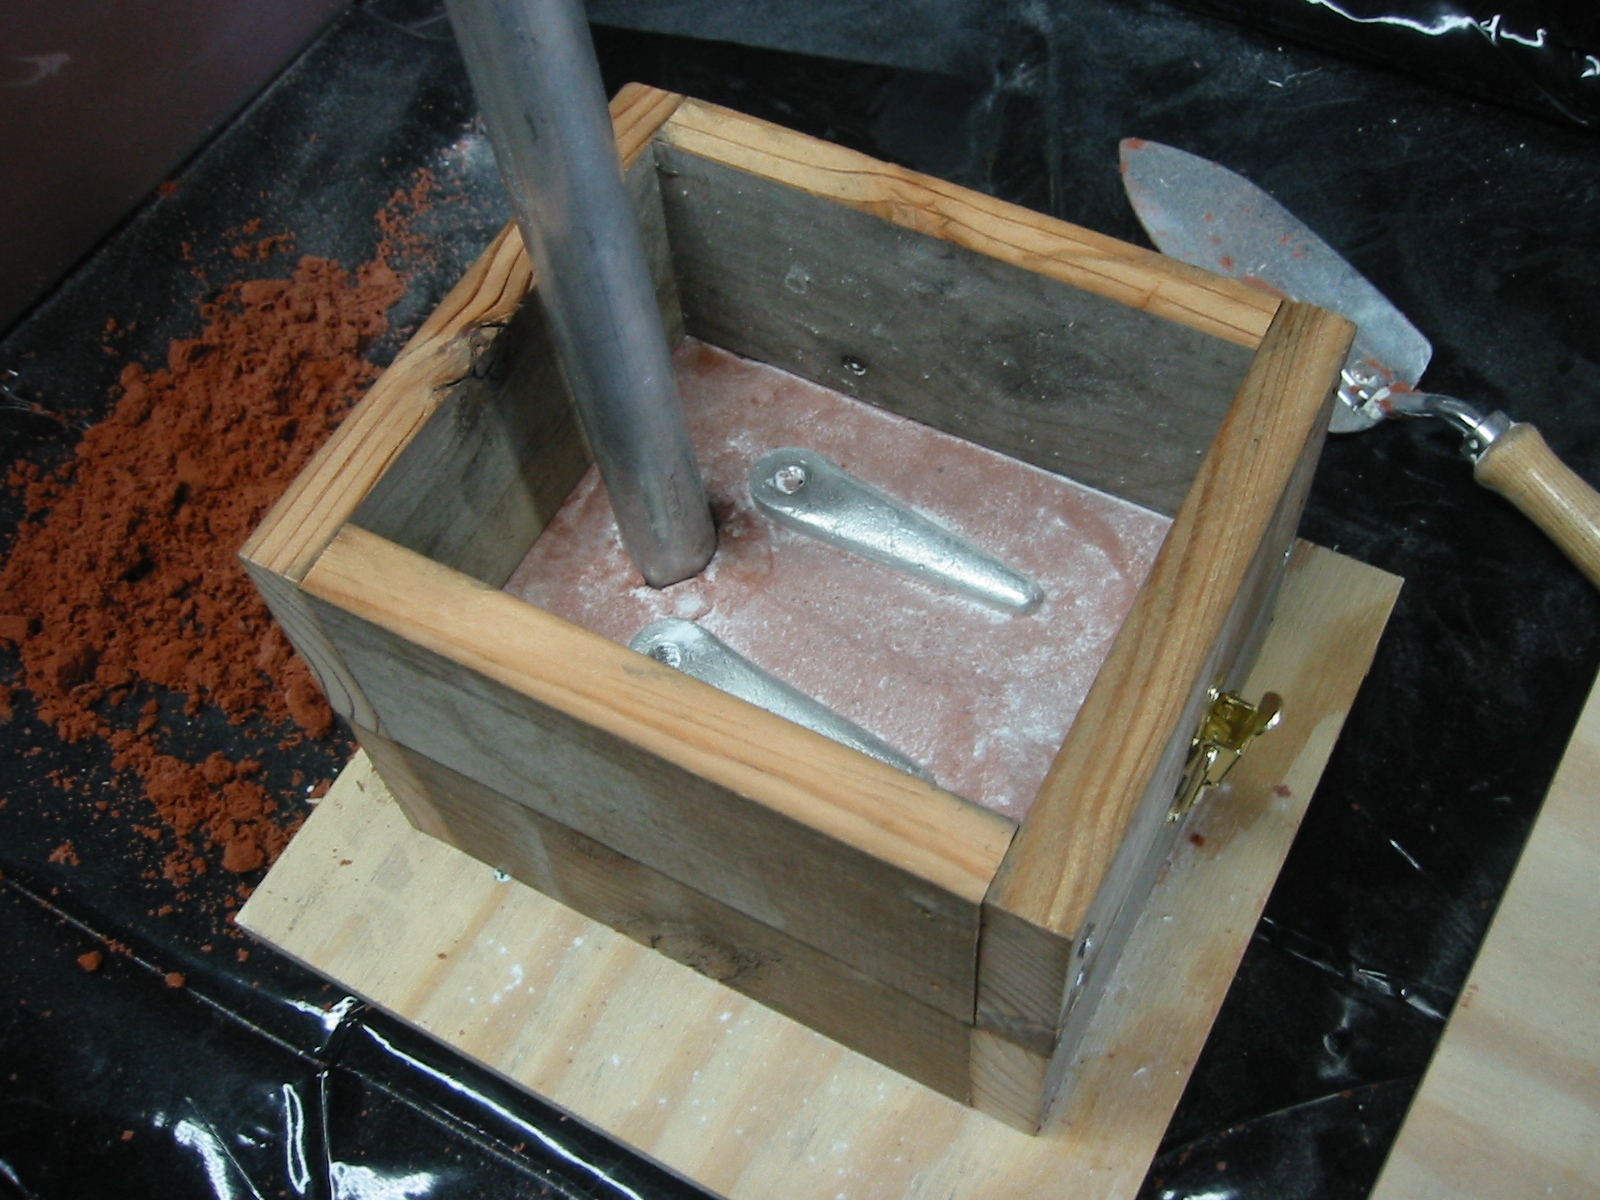
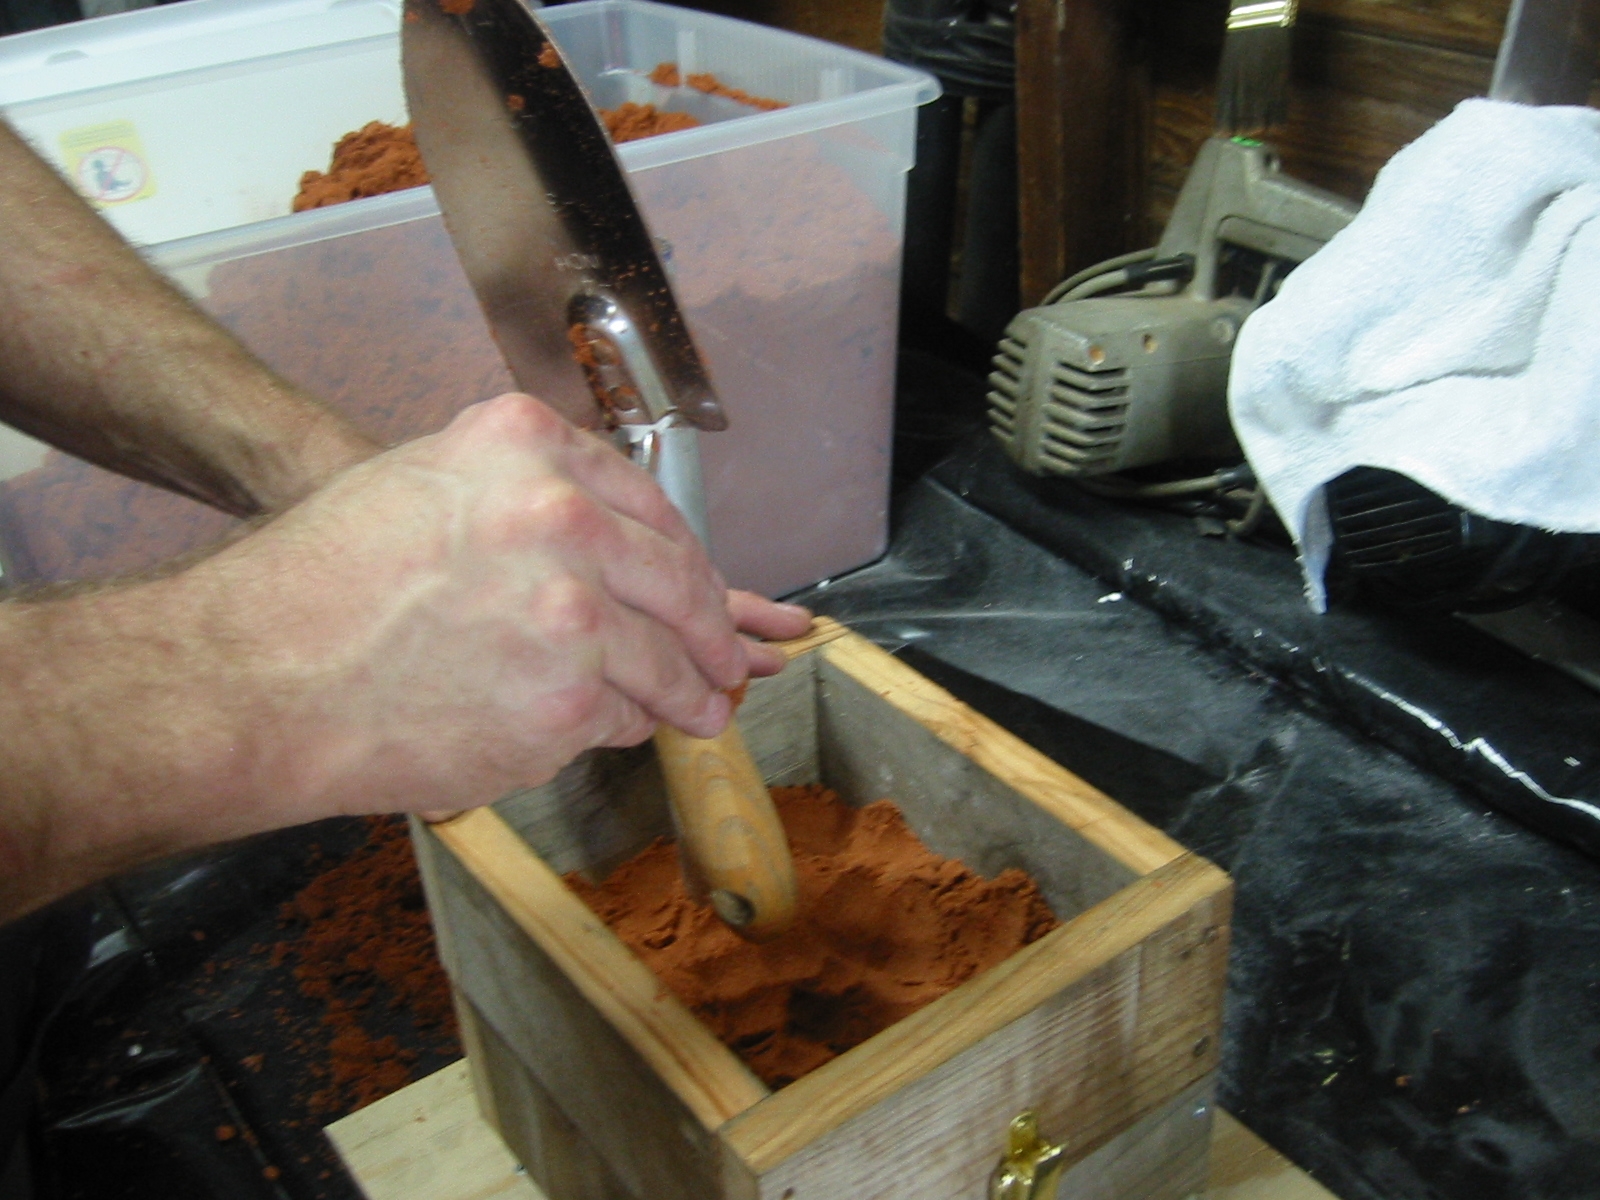
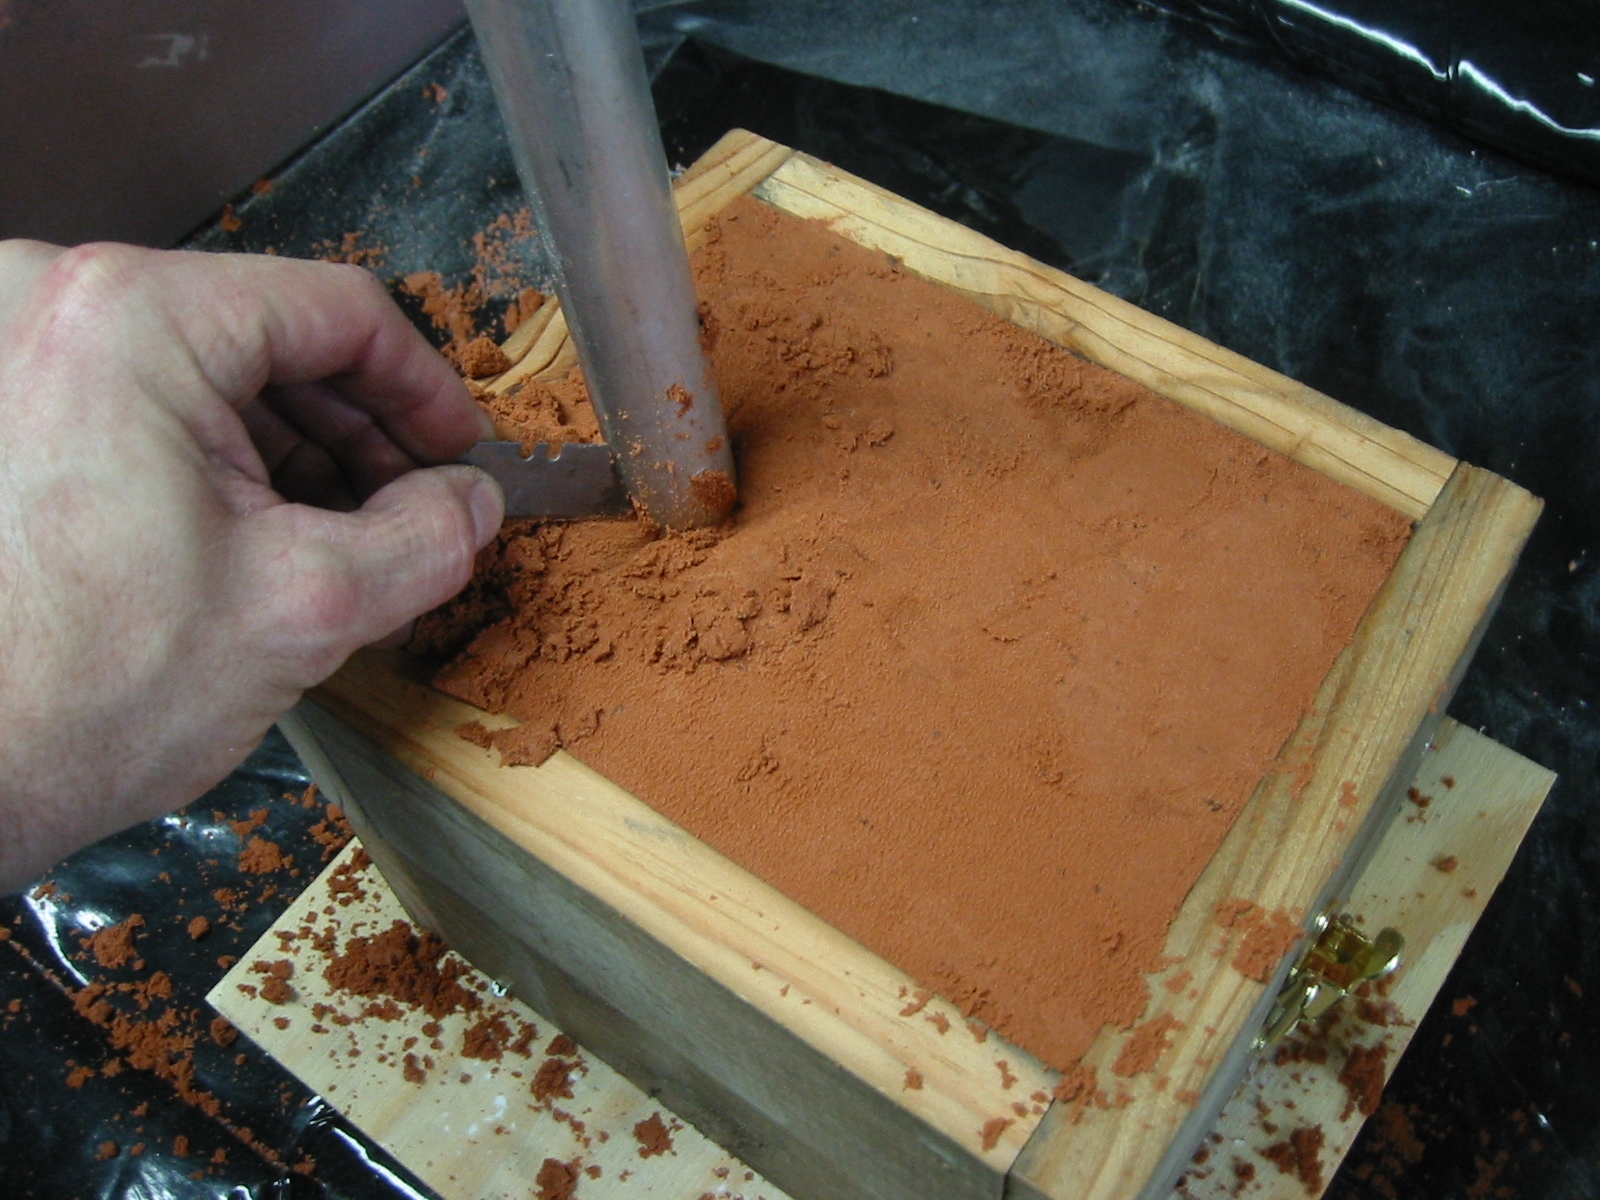
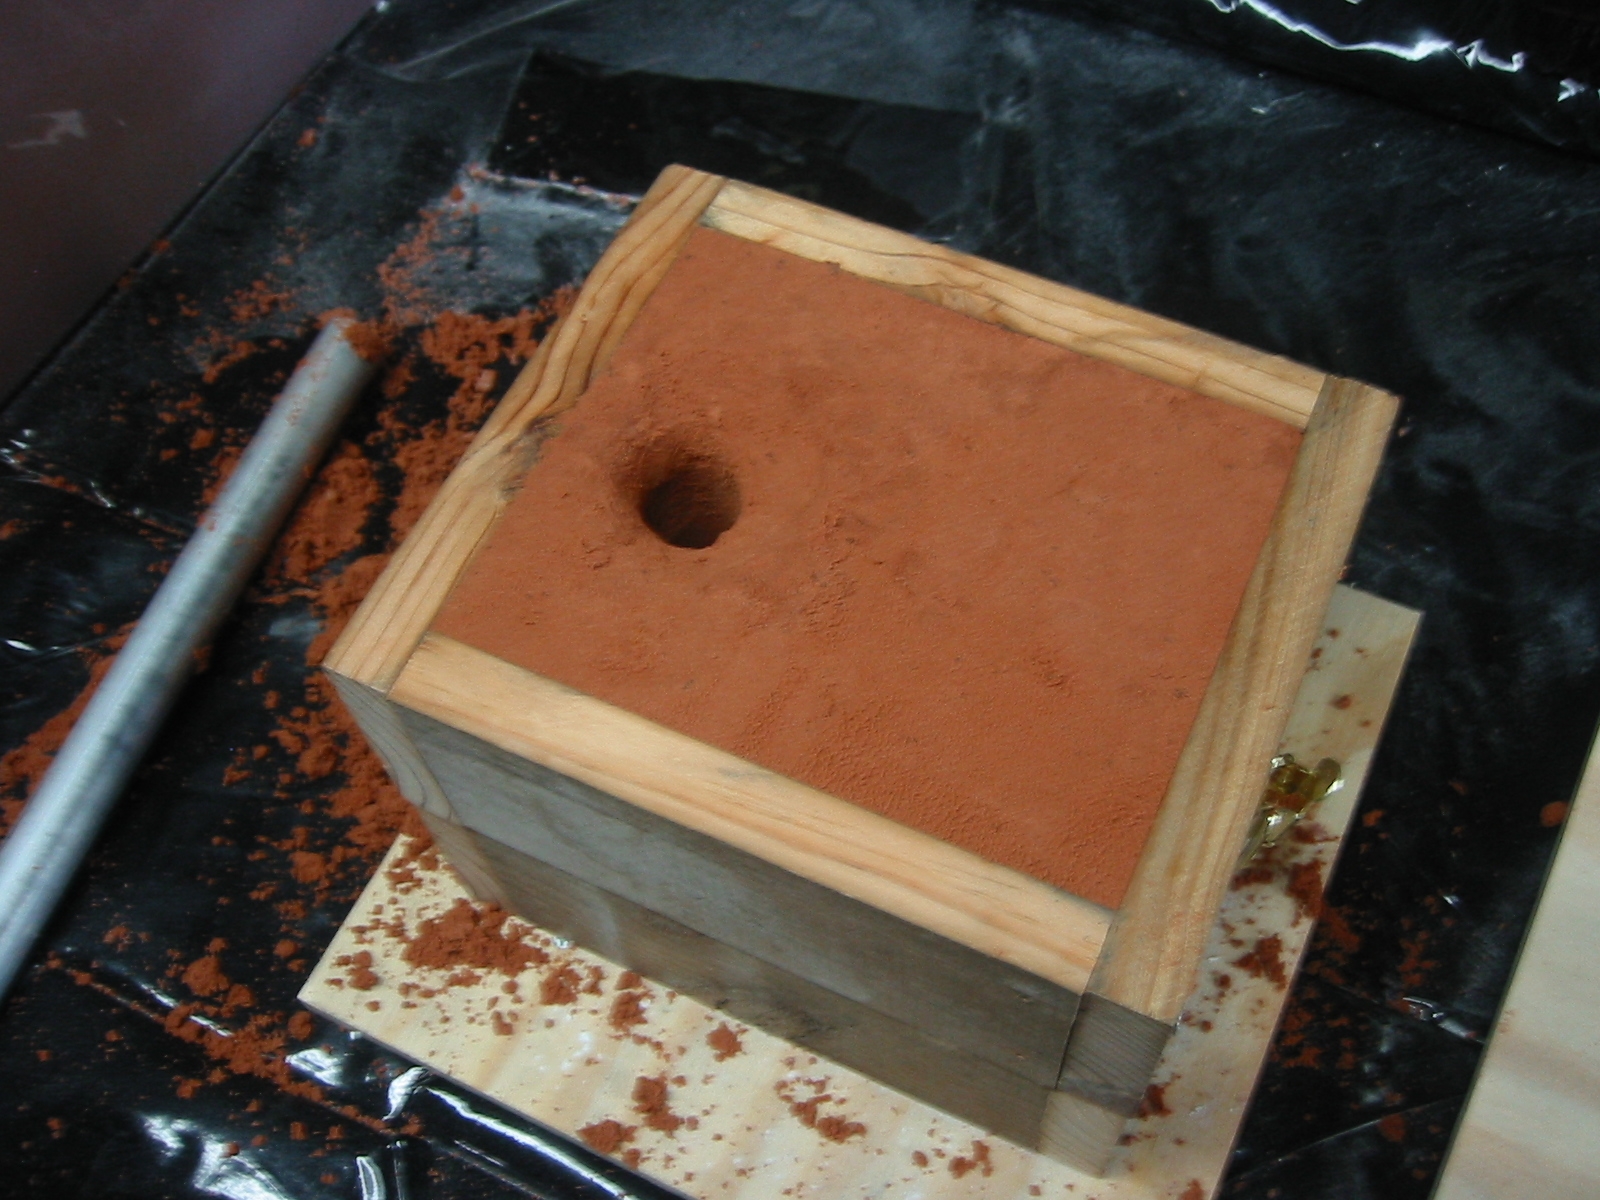
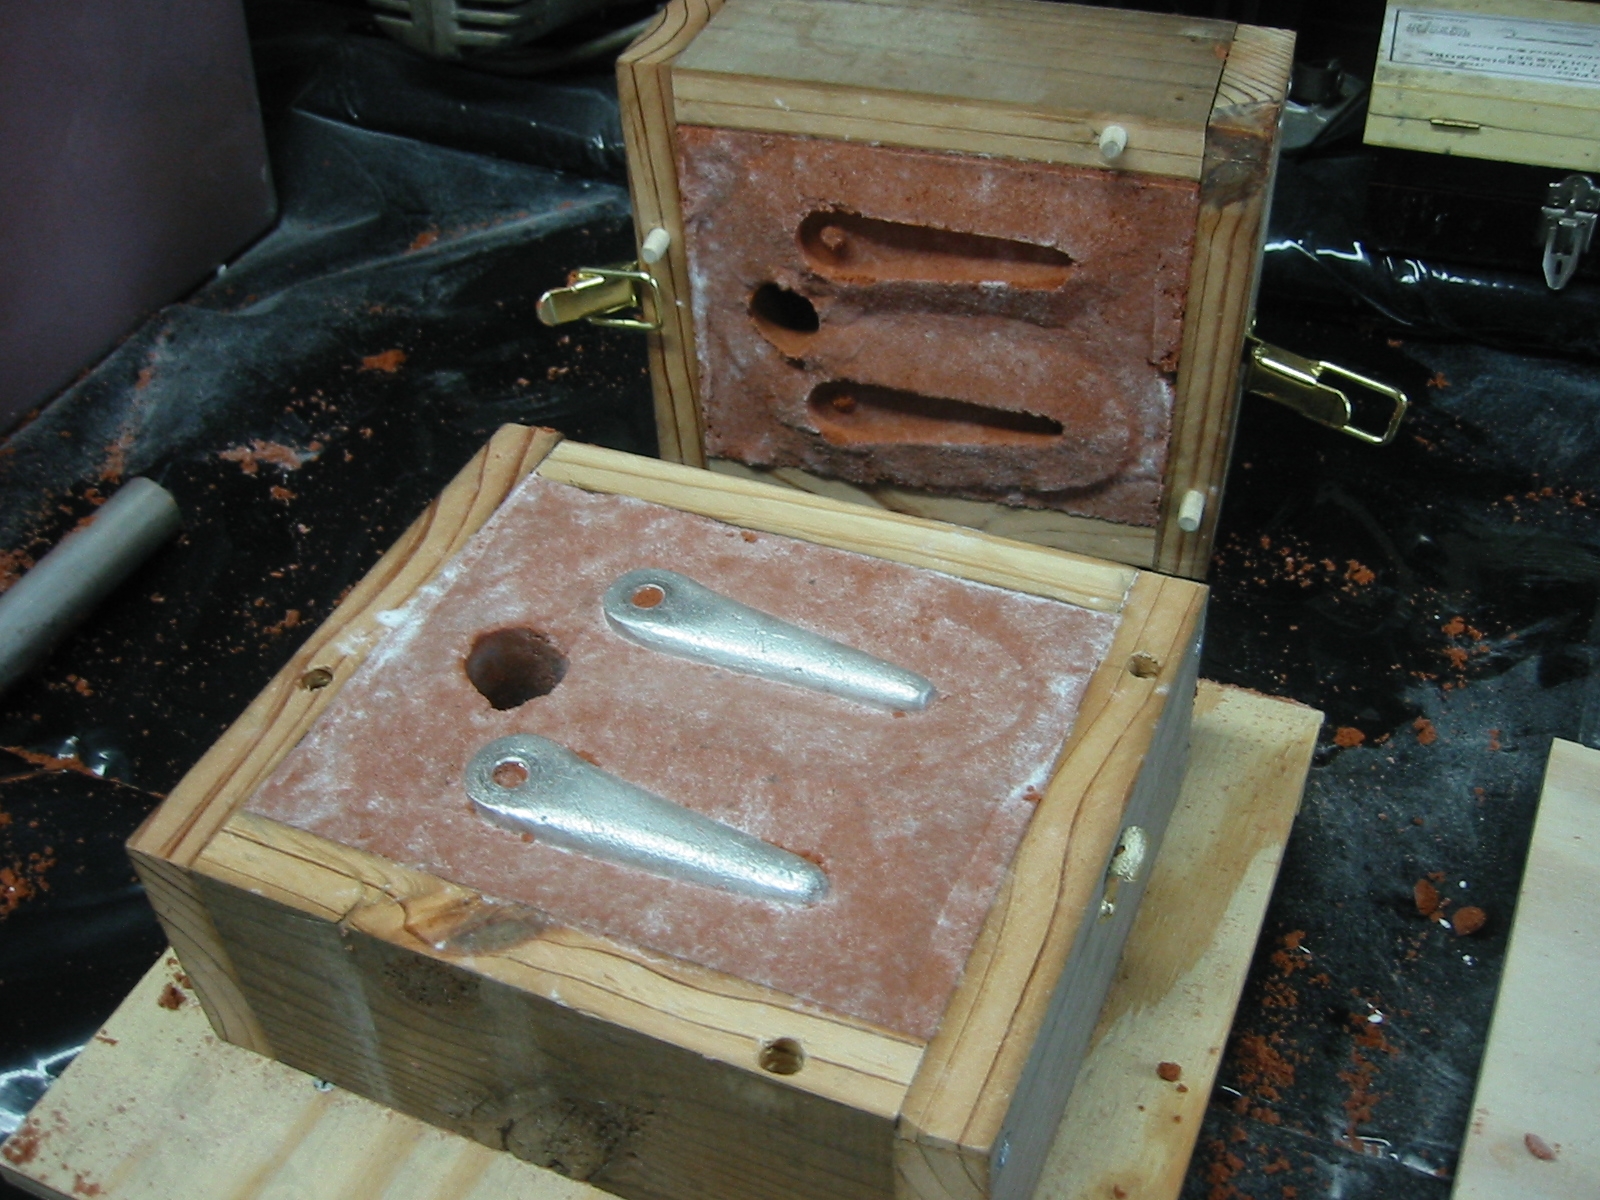
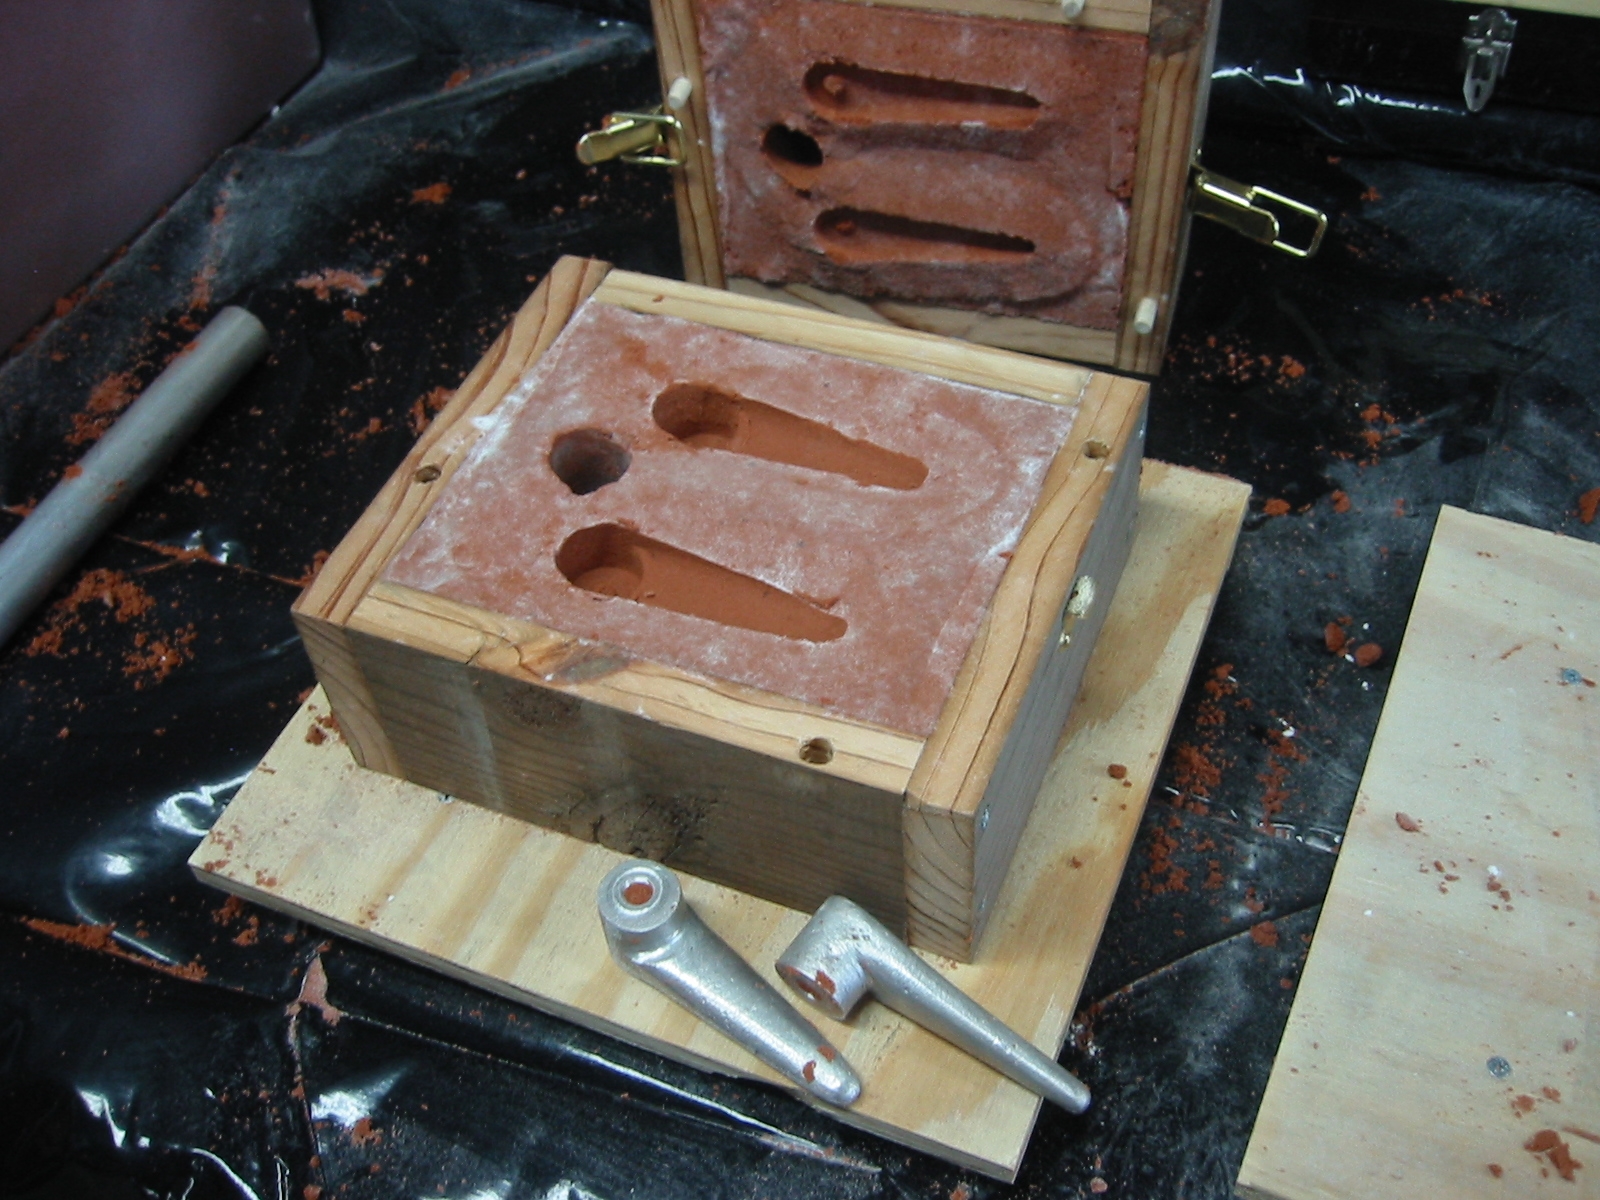
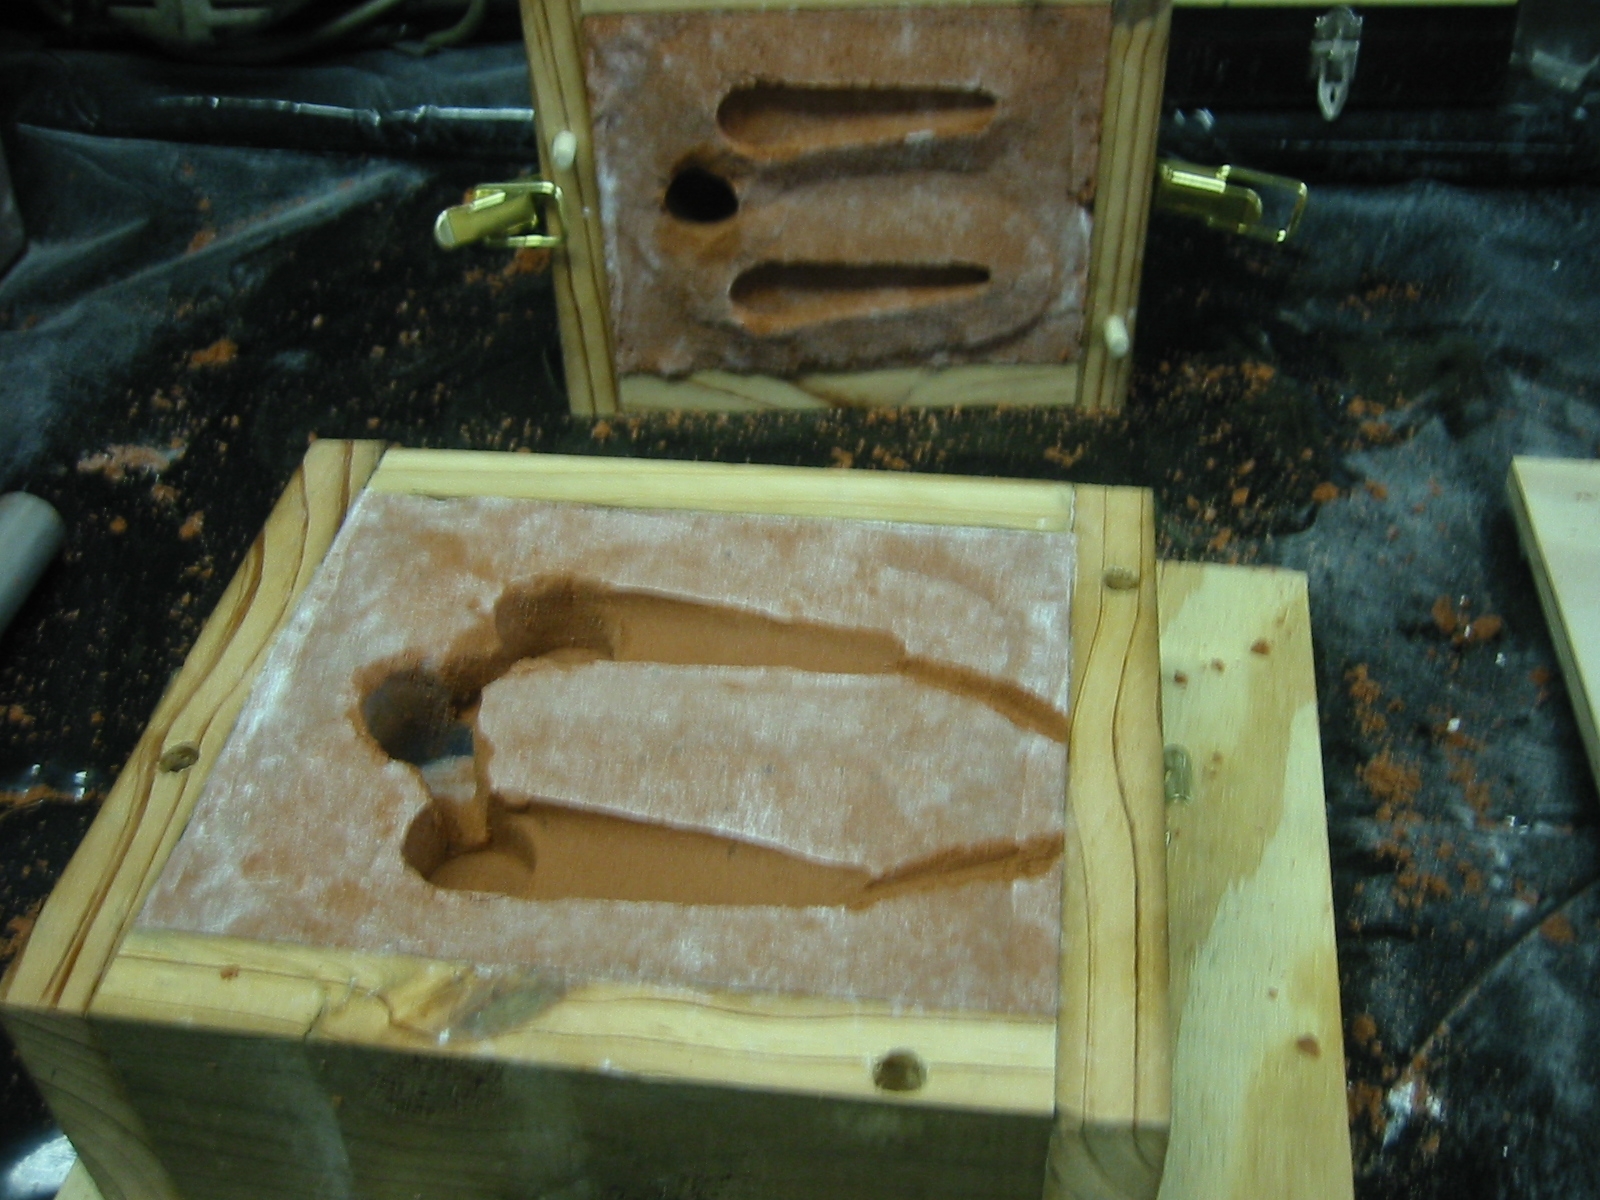
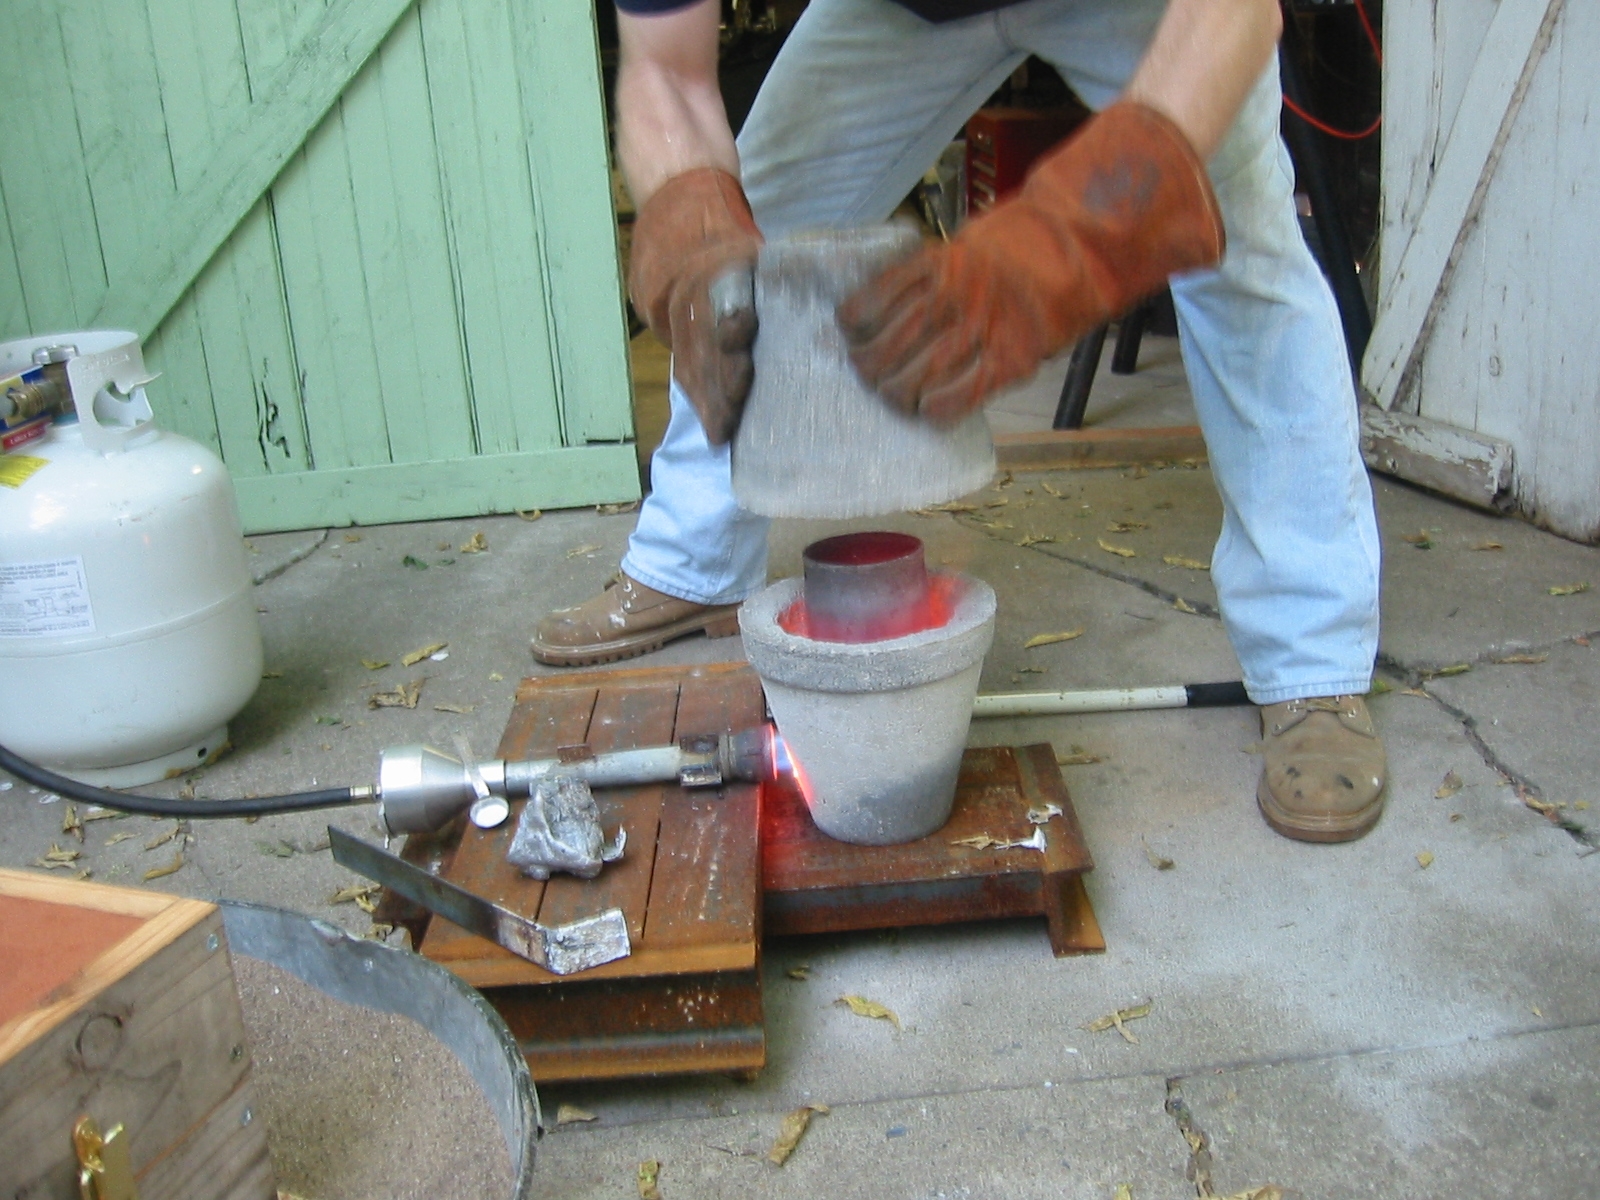
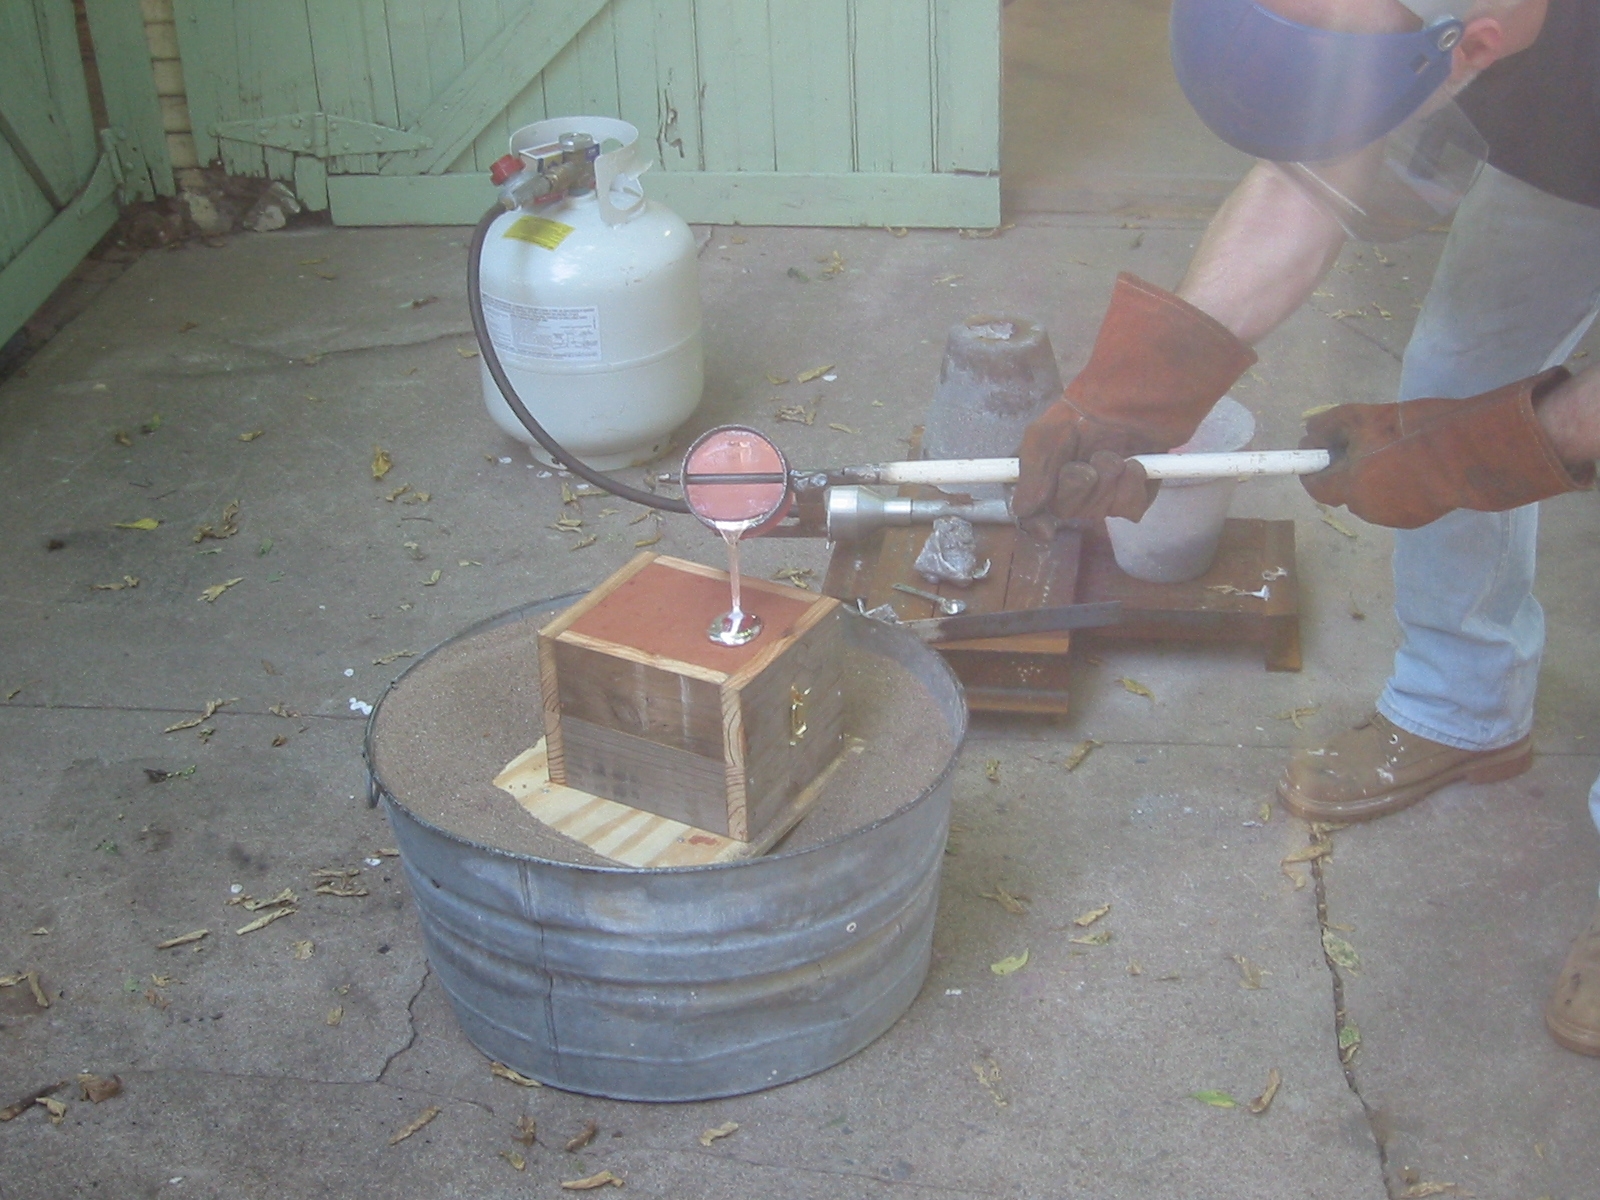
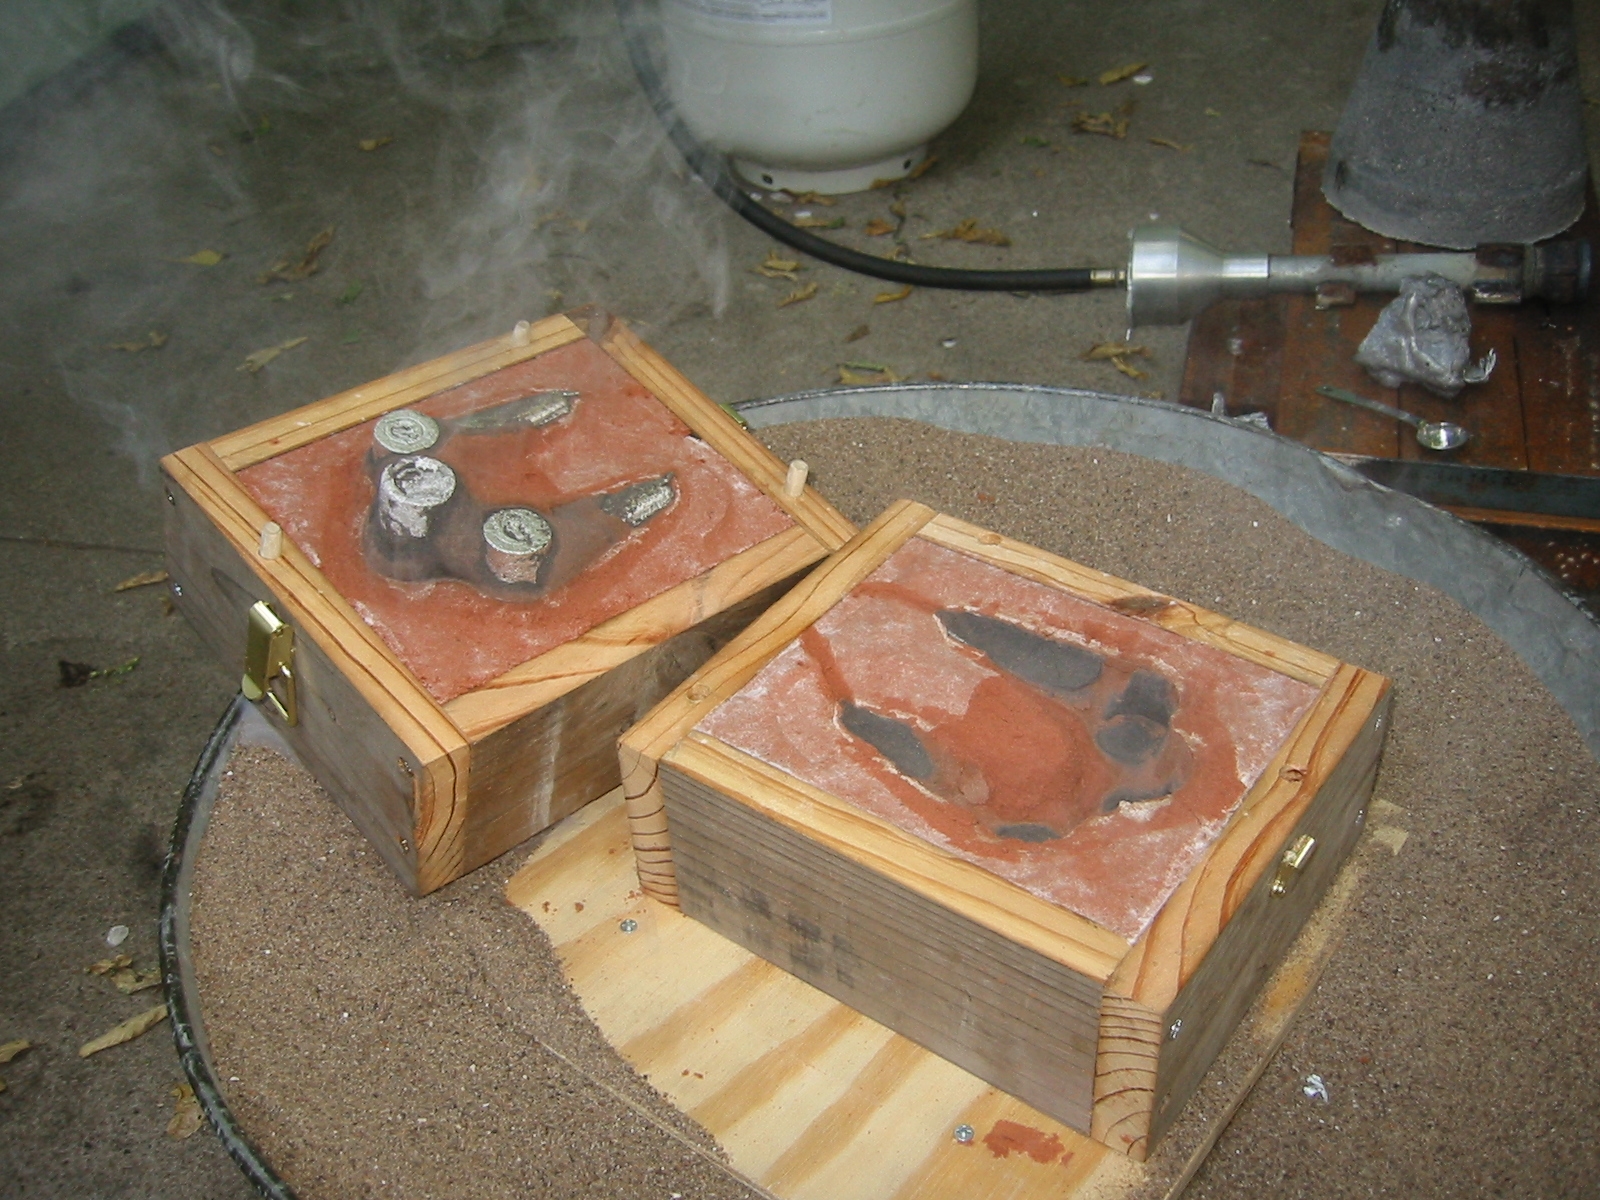
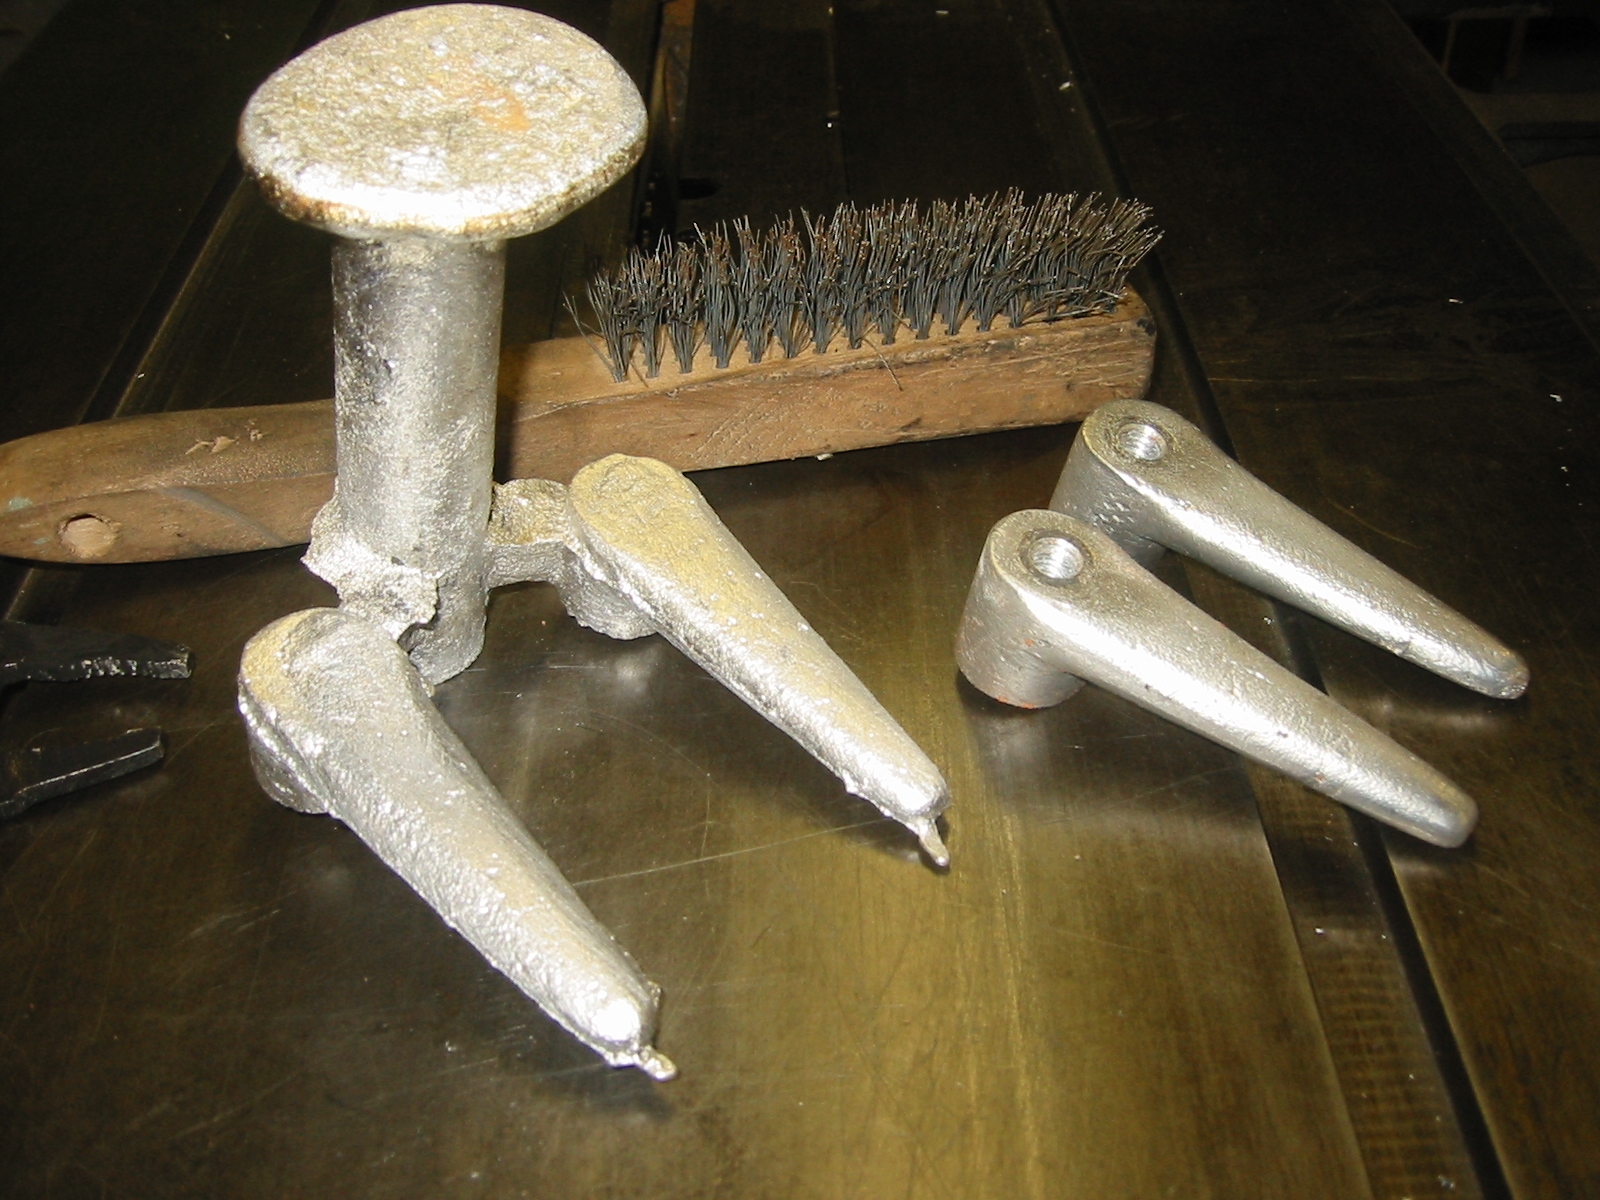
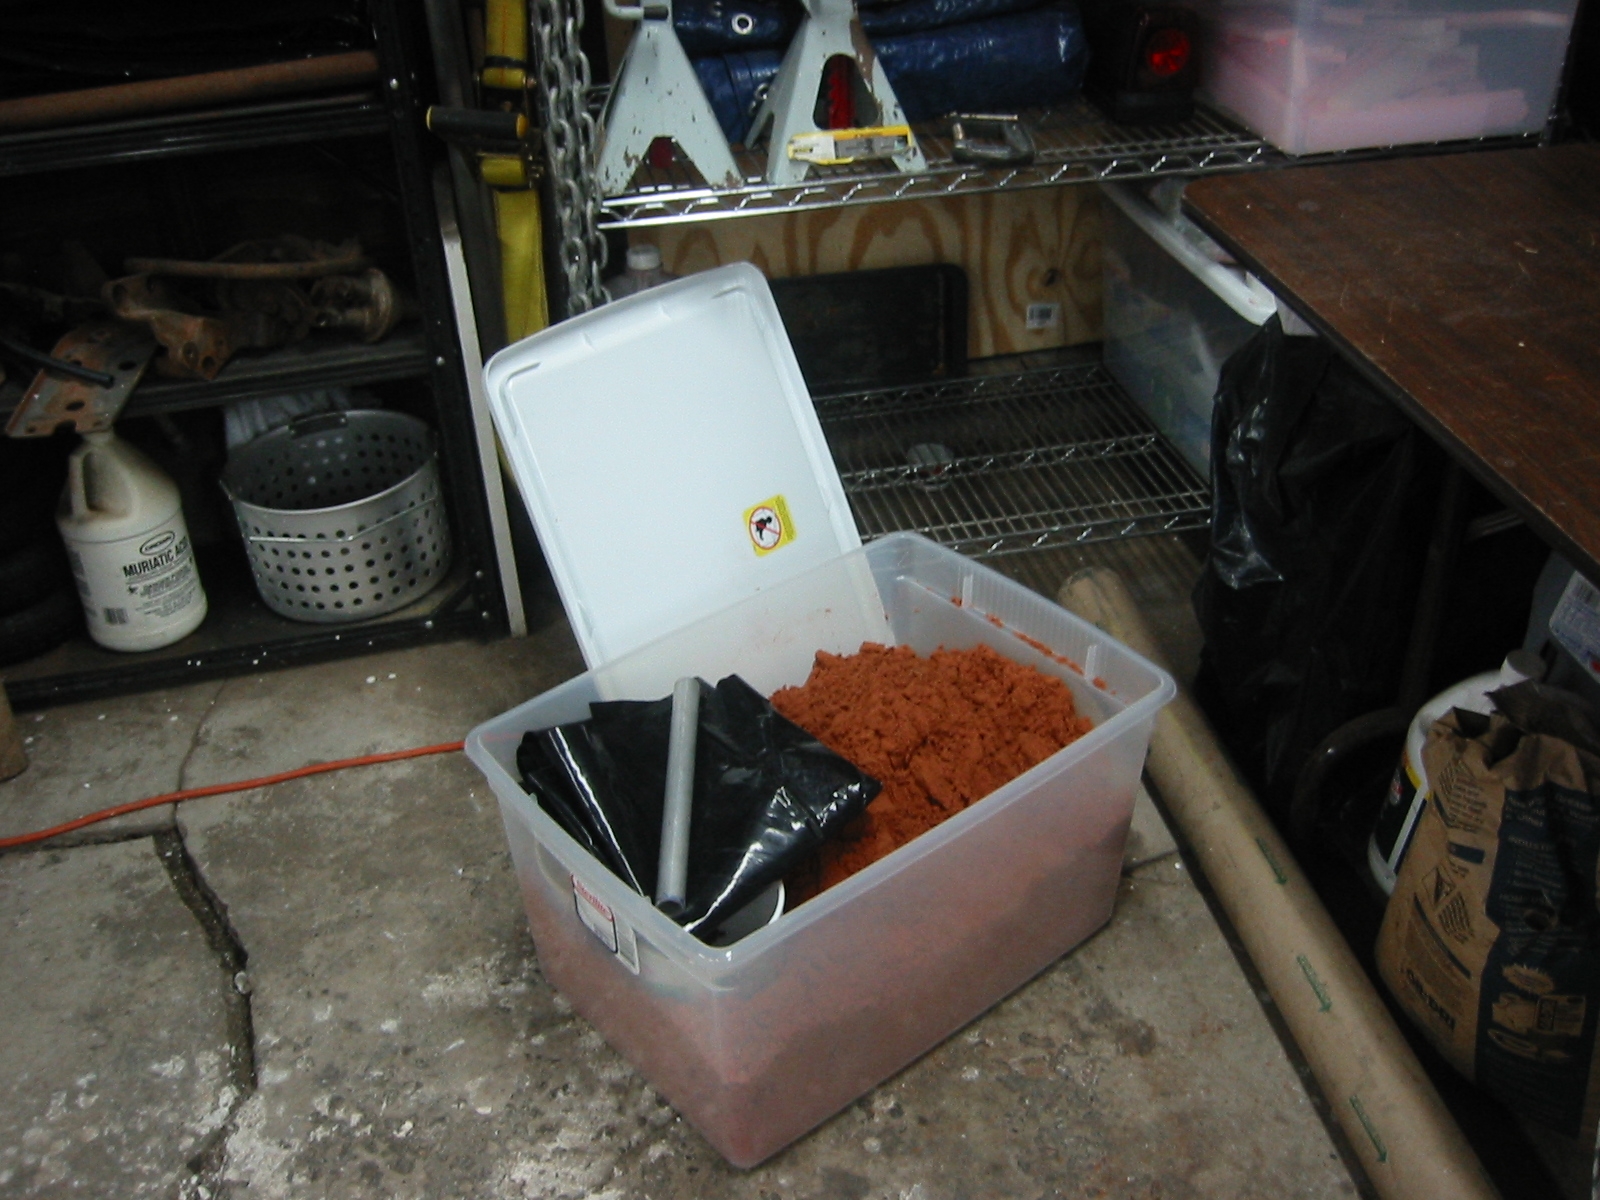
Casting Flask(1) Place your part/s on the molding board. Sprinkle them with parting dust. Simple Backing Soda works well as parting dust and it’s cheap. I skipped the parting dust because it is only need if your parts have lots of detail.(2) Place a frame, called the “drag” around the part/s, then start adding your sand, being sure to tamp it in well around the parts, especially when there are fine details.(3) Once the “drag” is full, level the sand with the top of the frame using the other board or “bottom board” that will also be used to cover the drag. Then hold onto both boards and turn the flask over so the “bottom board” really is on the bottom.(4) Remove the molding board.(5) Use a knife or blade to excavate the sand around the part/s just until you can safely lift the part from the sand without disturbing the remaining sand. This will be your “parting line”.(6) Add a “sprue” or the hole through which your molten metal will be poured. I am using a pipe to mold the sprue. First pushing one end into the sand to remove a core and form a hole that is a little deeper that the bottom of the part/s. Then add parting dust.(7) Place the pipe back in place to from the sprue. Paper towel rollers work well if you don’t have a piece of pipe. Then set on the top frame or the “cope”. Latch the frame in place if you have latches.(8) Add more sand and again gently tamp it in around the part as well as the pipe to from the sprue. There are special tools for this, almost anything including your fingers works well. A blunt 5 pound bock of steel make a good ram for packing frames. Larger frame will need to be more tightly packed.(9) Flatten off the sand level the the top edge of the frame or “cope” and also form a funnel cup around the pipe that is forming the sprue. This will give you a bit larger target when you pour the molten metal. Be sure to leave some sand between the funnel opening and the wood frame.(10) Gently remove the pipe that was forming the sprue. Then place the “molding board” on top.(11) Unlatch the frames and carefully lift off the top frame or “cope” and set it on its side. You should be able to rest it on its top, but less movement is better.(12) Using a couple of knife blades, delicately lift the part/s from the bottom frame or “drag”. Be careful to lift the part/s straight up so as not the disturb the sand.(13) Using a knife or blade carve out the “gating” system that will allow the metal to flow into the part and the air to flow out. The “gates” connect the sprue to the part a little above the bottom of the sprue. The vents are very small channels that run from the smallest section of the part to the edge for cope. Blow out any loose sand and repair small imperfections. The carefully put the two halves back to together.(14) Time to melt some aluminum. This is my flower pot furnace, the details are above. Wait until the melt begins to glow orange. Thermometers are not necessary. Too cold and the pour will choke. Too hot and there will be small bubbles. After a couple of mistakes you will know when it’s perfect.(15) Pour the flask with molten aluminum. Don’t pour too slowly or the aluminum will harden too quickly in the gate, coking the part off.(16) After 5 minutes the flask can be opened for inspection.(17) Final Parts next to original after the being brushed off.(18) The Petro-Bond that was not in direct contact with the part can be returned to the storage bin. The rest can be sifted through a screen or “riddled”.
 Seeker Knowledge
Comments