|
|
||||||||||||||||||||||||||||||||
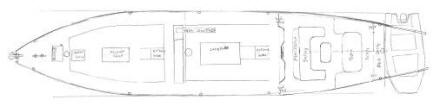
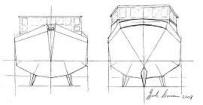
DIY Sand BlastingRent or Build?Getting metal from the supplier that is already wheelabraded or sand blasted and primed is a good way to avoid a lot of work especially if your neighbors are too close to sand blast in your yard. The suppliers in Tulsa don't normally sell steel for boats so getting the steel already wheelabraded or sand blasted and primed was not an option. The neighbors are great, and as usual we have more time than money.
We can rent a 185 cfm compressor and 300 lb pot for $650 a week (2008) in order to sand blast the steel to white and then prime it. However it's really handy having a blaster available for all the little projects that come up, like the anchor winch rebuild, the keel bottoms, rudder and other parts that will not accessible later. PA Blaster DesignLike our boat the blaster has evolved organically. I started with a design for Rob's small "PA Blaster" and scaled it up. Sorry to say that Rob's PA Sandblaster group on Yahoo that has now disappeared. The whole secret behind the PA Blaster is that sand and high pressure air are not mixed until just before the nozzle. It's a great idea, because the sand is carried to the nozzle in a garden hose with only 30 to 40 psi of air pushing it along. At the nozzle, high pressure air is delivered behind the sand to accelerate it to full speed down the nozzle. This eliminates the need for high pressure air inside the sand pot, as well as drying all of the air volume. It's still a good idea to dry the low volume of that air that does flow through the pot so as the help keep the sand dry. After we got the blaster working with sand, but we soon learned how imperative it is for the sand be very dry. And keeping dry sand requires a lot of work and it makes reusing the sand much more difficult as it will need to be dried after so little as a heavy due fall. "Seeker Wet Blaster" Designed by AccidentAfter putting sand it the pot that turned out to be way too damp to blast I was left with 300 pounds of sand in the pot and no way to easily remove it. So I decided wash it out with the garden hose. Then I noticed how nicely the water and sand was flowing out the bottom, so I removed the air line from the tank and connected the water hose to it, and went back to work. Eureka! Not only was it working, there was no dust! And I did not have to bother keeping the sand dry so reusing sand was much more convenient. A no dust! Did I as not dust! So you can work in a dust storm or misting rain. Trust me, take the misting rain!
Dry SandBlasting
Wet SandBlasting
Blast Nozzles
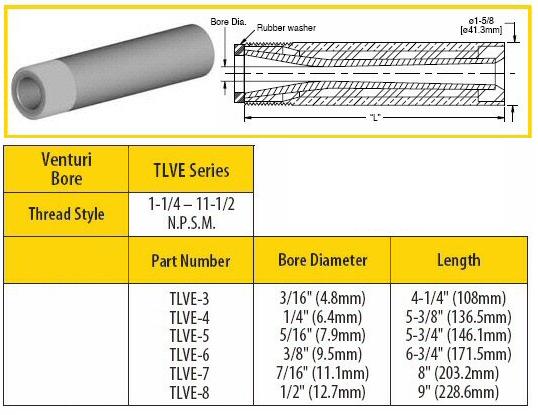
If your building a big steel boat, then bigger is what you need, starting with a 185 or better air compressor. Nozzle: Long venturi style Nozzles yield about a 40% increase in productivity compared to straight bore nozzle while abrasive consumption can be cut approximately 40%. http://www.metalfinishingsupply.biz/html/nozzles.html According to the chart and www.metalfinishingsupply.biz a 185 cfm supply should have a 1/4" orifice (#4 nozzle) long venturi nozzle and that should be able to blast 100 square feet per hour. 1/4" TLVE-4P Series tungsten carbide long venturi nozzle Air Hose: 3/4" ID 300 psi, 50' lenghts are $71 (2011) on eBay.com Media Hose: Our Burned-Out Compressor
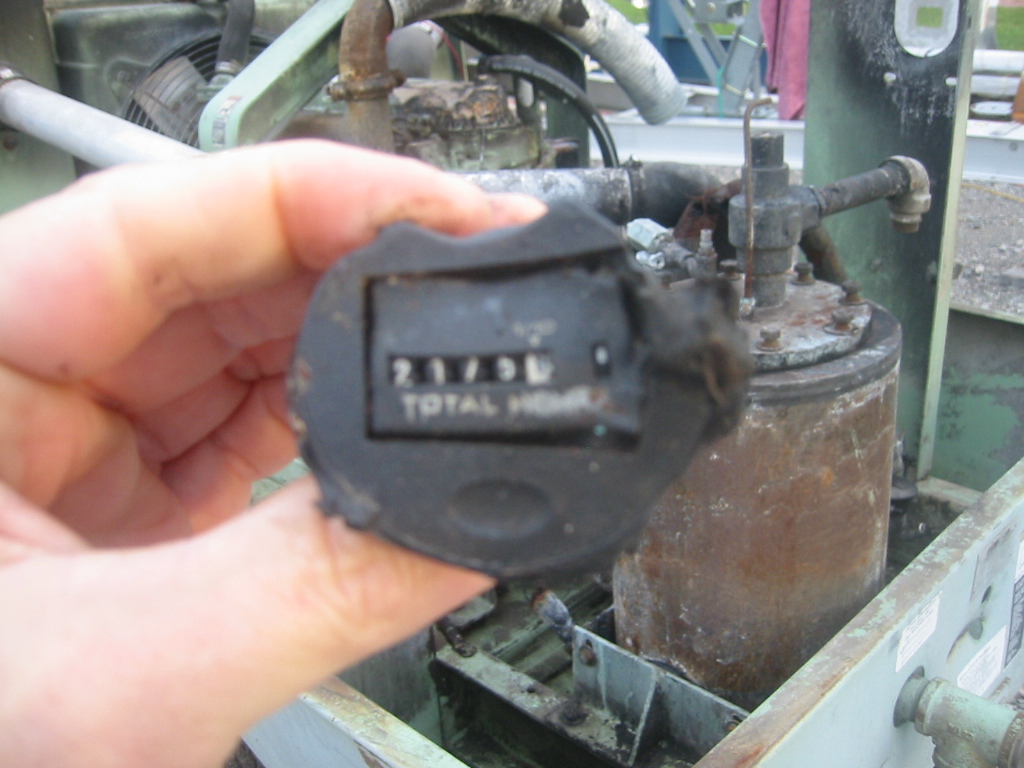
I paid $1300 for this burned out Sullair 185 cfm, model: DPQ JD compressor site unseen. And that included paying the seller to bring it to Tulsa from New Mexico. At this point I like the deal. It only has 2,175 hours on the 60Hp, 44.7 kW, John Deere 4024T rated at 2800RPM. And just as advertised it fired up on the very first turn. I planed to used the engine to power a generator if for the boat, if nothing else, but if the air unit can be salvaged then we'll blast the boat with it and then load it into the engine room as a power source for both air and electricity. We then traded the 1ton truck that came with the deck crane we wanted to our friend Ryan in return for getting the compressor back in semi-working order. He got the burned up hydraulic hoses replaced and sure enough it blew air. Fixing the CompressorHose and Fittings http://shop.hoseandfittings.com Our Burned Up Sullair Air Compressor A great web site for technical information: www.aircompressorhelp.com Sullair Part Orderwww.eaircompressorparts.com
Replacement Hose Order - Aroquip has reusable fittings.
They cost more, but I really like that they are reusable. Compressor Oil: Conoco Megaflow AW Hydraulic Oil 32 - Product # 1055928 $85/5gal Today: SuitTyvek Suites:
http://www.sentrysafetysupply.com/display_product_2548/tyvek-qc-x-5428-coverall--x-large.htm
$7.50
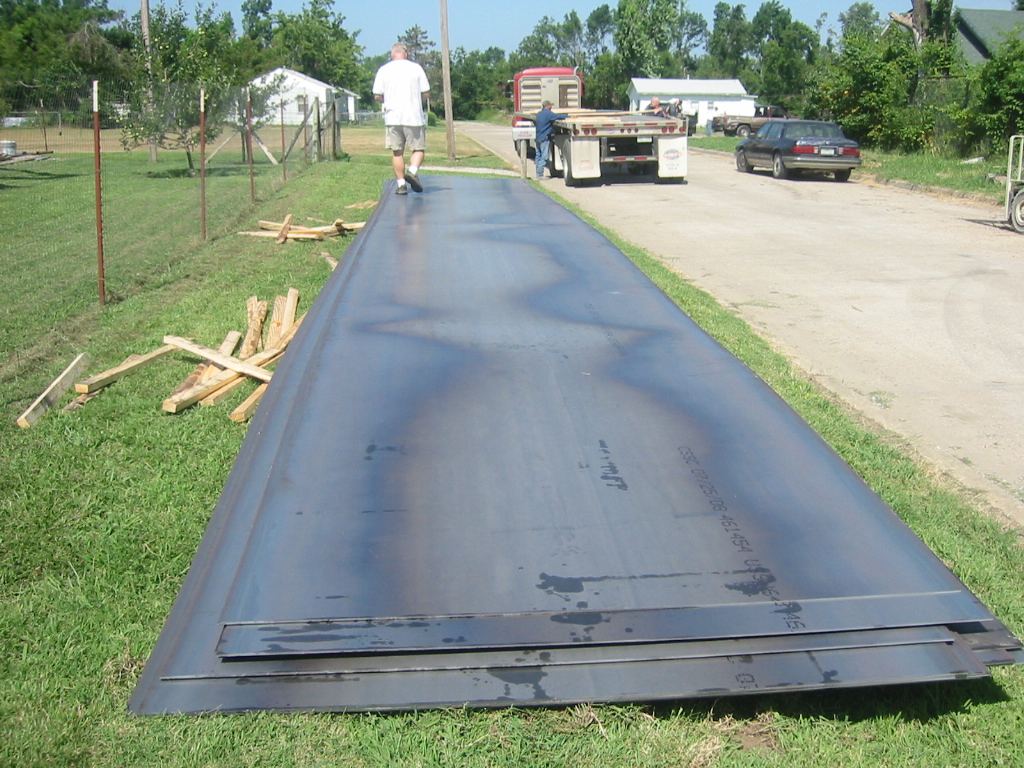
SandA 100 pound sack of sand will blast roughly 12 square feet while an engine driven compressor on a small rig will will burn close to a gallon of gas. So you want to use sand that gets the job done according to your fuel cost as well as your time. Most people recommend using the sand only once through the pot as it is larger dust after the first pass. With about 12,000 square feet of steel surface on our 70ft boat, that comes to 1000 bags or 50 tons of sand. There are no beaches in Oklahoma, but we have plenty of sand in the rivers. Using specialty blasting sand like "Black Beauty" is another option. There is debate about how many times you can reuse Black Beauty. Some as only twice, which if that is true then at $15.80 (2010) for 80 pounds the cost of "Black Beauty" the cost would be over $10,000. Others say it can be reused almost indefinitely as it will pick up steel and slag from the steel being blasted. So we will experiment with Black Beauty and go from there. There are cheaper alternatives. #20 Sand only cost $5.50 (2010) per 80 pounds. I like to avoid shoveling that much sand so what I imagine is starting with the hull half's prior to folding. Hang one side so the bottom is 6 feet off the ground, then drape a tarp from the top of the plate so that it surrounds the side of the plate so it catches the spent sand and funnels it into a barrel in the back of my pickup. I'll work from the roof of the truck and shoot through an opening in the tarp. The pot stay on the ground and once it is empty, I'll fill it back up from a gate in the collection barrel. Then top it off with some new sand; pull the truck and the trap forward a few feet and repeat. The rest of the plate for the bulkheads and deck can be done the same way. The only apparent problem with this approach is that I have to prime the steel immediately after it is blasted and I don't have the cash to get the primer yet. Mill Scale
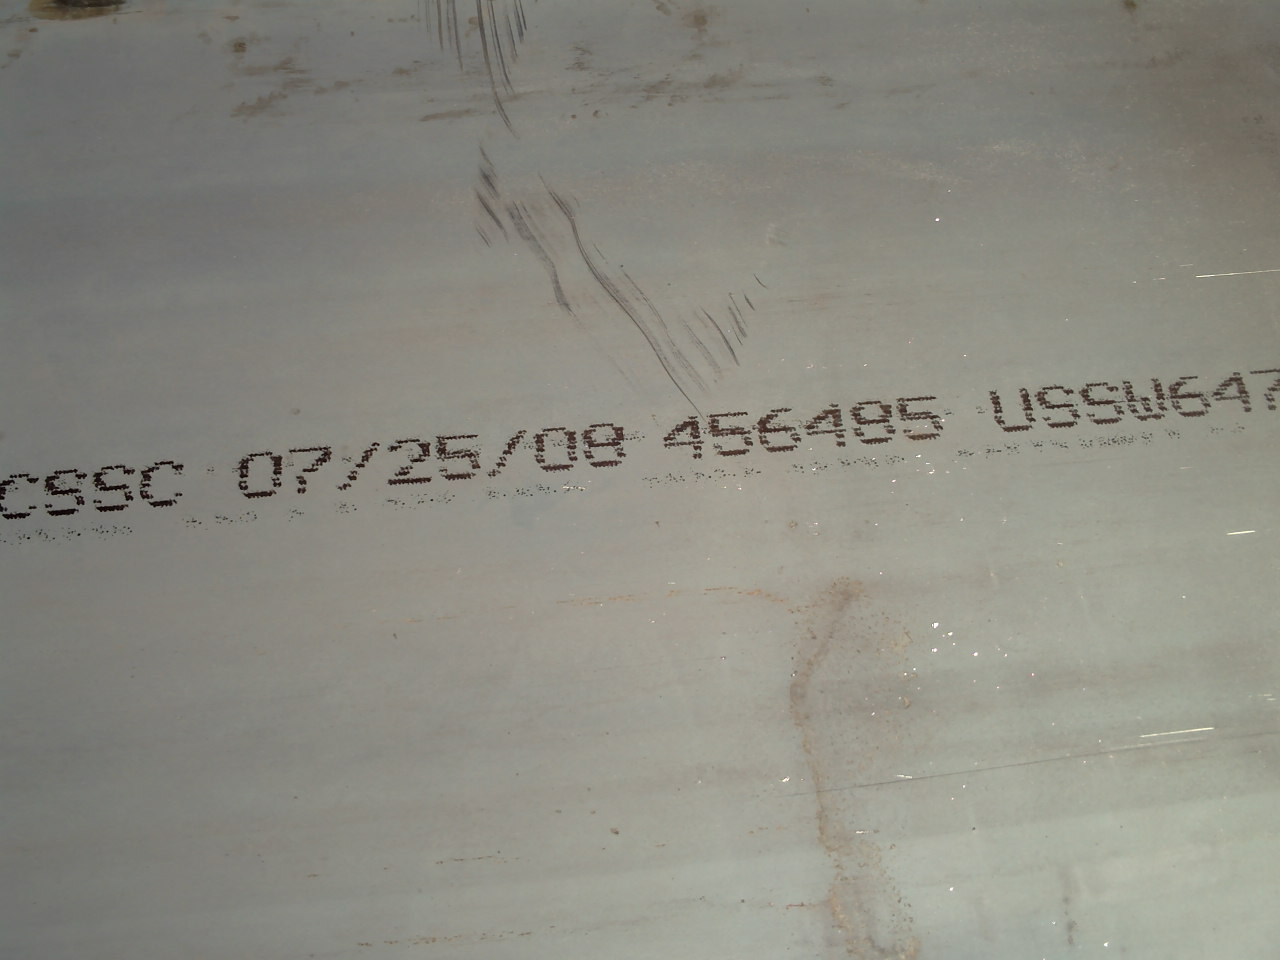
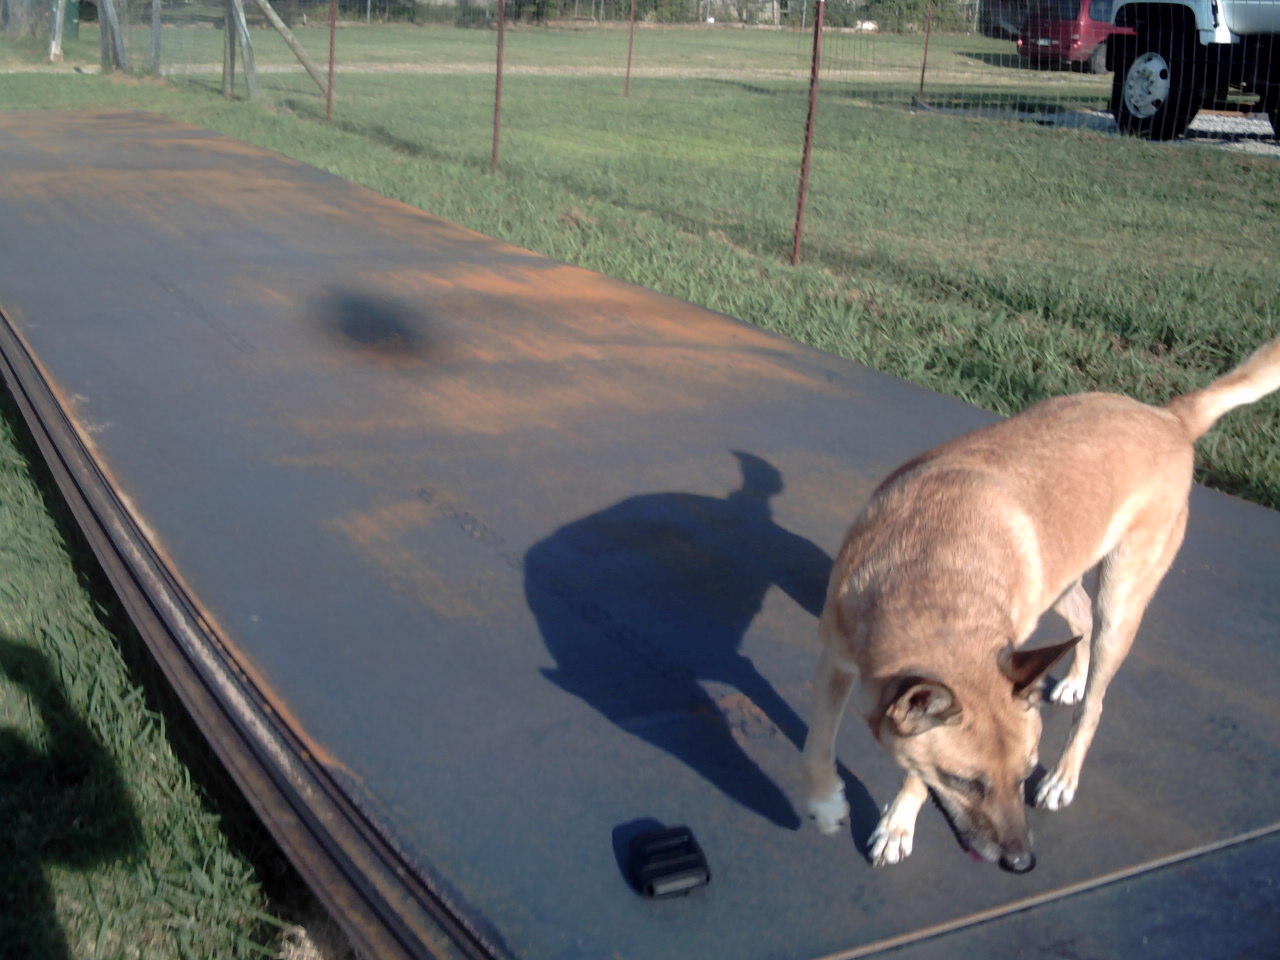
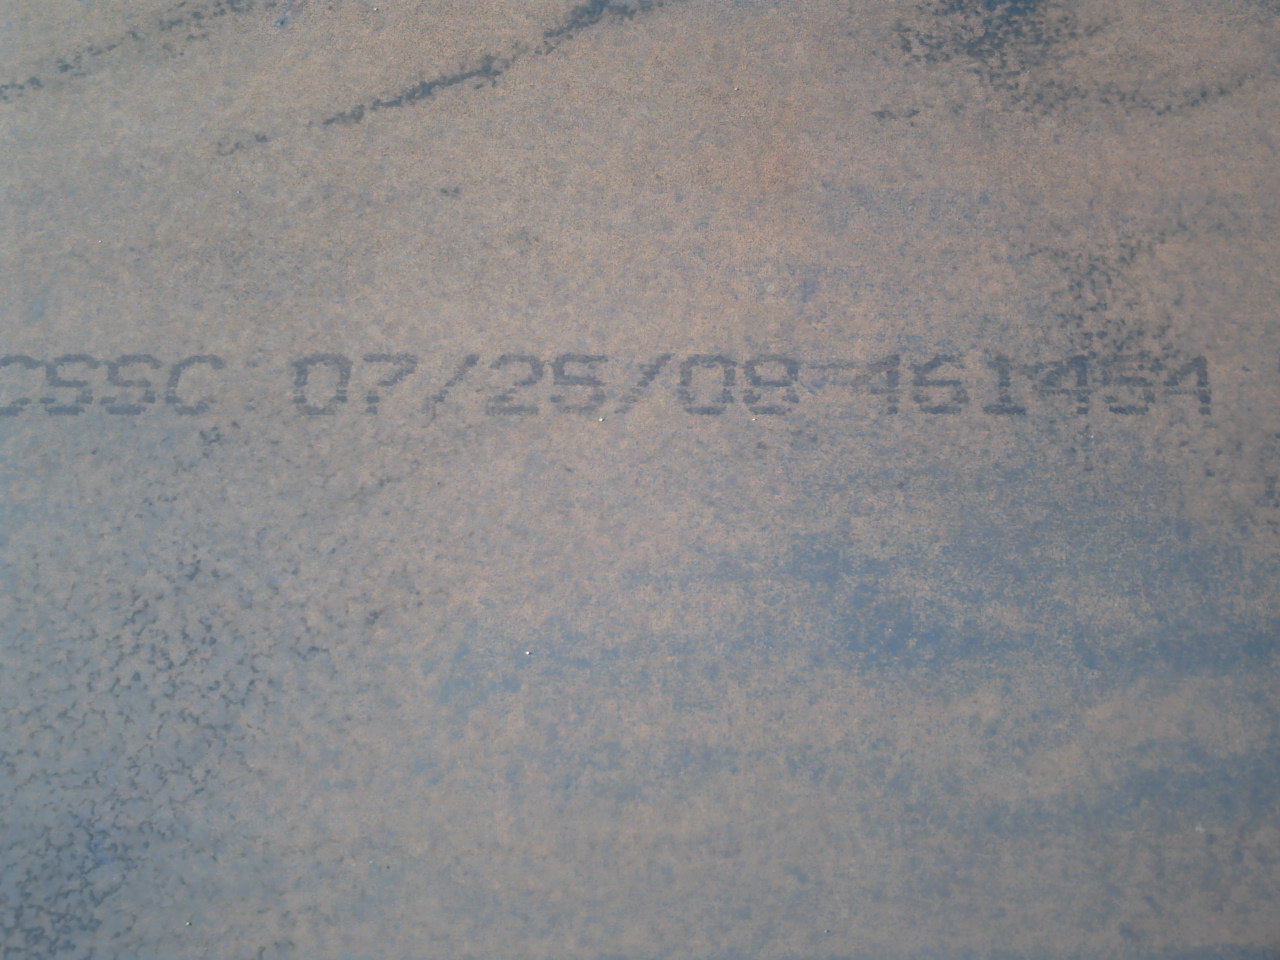
Mill scale is a thin layer of iron oxide that forms unevenly on the surface on steel during hot rolling at the mill. Our steel was then rolled up onto a huge coil, loaded on a barge and brought to the Port of Catoosa where Cargill loaded onto a machine that unrolled it from the coil and cold rolled it back into flat plates that were cut to our 45 foot requested length. That cold roll process smashed the mill scale into the surface so that it can not be seen. Removing it is required because it will sooner or later loosen and flake off exposing the unprotected steel underneath. The best first step to removing mill scale is to allow the steel time to rust. As rust forms it will loosen the mill scale from the surface make it easier to sand blast away. When we moved this pile several months later, I was suppressed and how little rust there was on rest of the sheets. When we stacked them inside the fence, we added sand between each sheet so it would be easier to drag off the pile. I suspect that the additional air and water will accelerate the rust.
ProfileThe "profile" refers to the roughness of the steels surface after
it has been blasted. Most coatings and paints specify that the
best profile is 2 to 3 mil's. A mil is only one thousandth of
an inch or 0.0254 millimeters so you'd need a microscope to see the
profile but it is noticeably rough to the touch. Too little
profile and the coating does not have enough surface area to cling
to, and too much and the spikes in the surface may stick up through
the coating and allow rust to get started. The tick is to use
sand that is the right size. The size of ebrasive particles is
measured by the size of the screen that the particle will pass
through. A 40 mesh sand, passes though a screen with holes
that are 0.422 mm wide, so window screen will do nicely. A 40 mesh sand is recommended for cutting a 3 mill profile in the
steel. Steel Shot Blasting - Wheelabrador - Wheelblast
www.blastpromfg.com
|